Video Tutorial
Step By Step
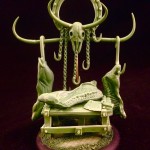
- Project-Chains
- Layers-One Layer
- Sculpting Type- Relief
- Application-Adhere to glass surface for later removal.
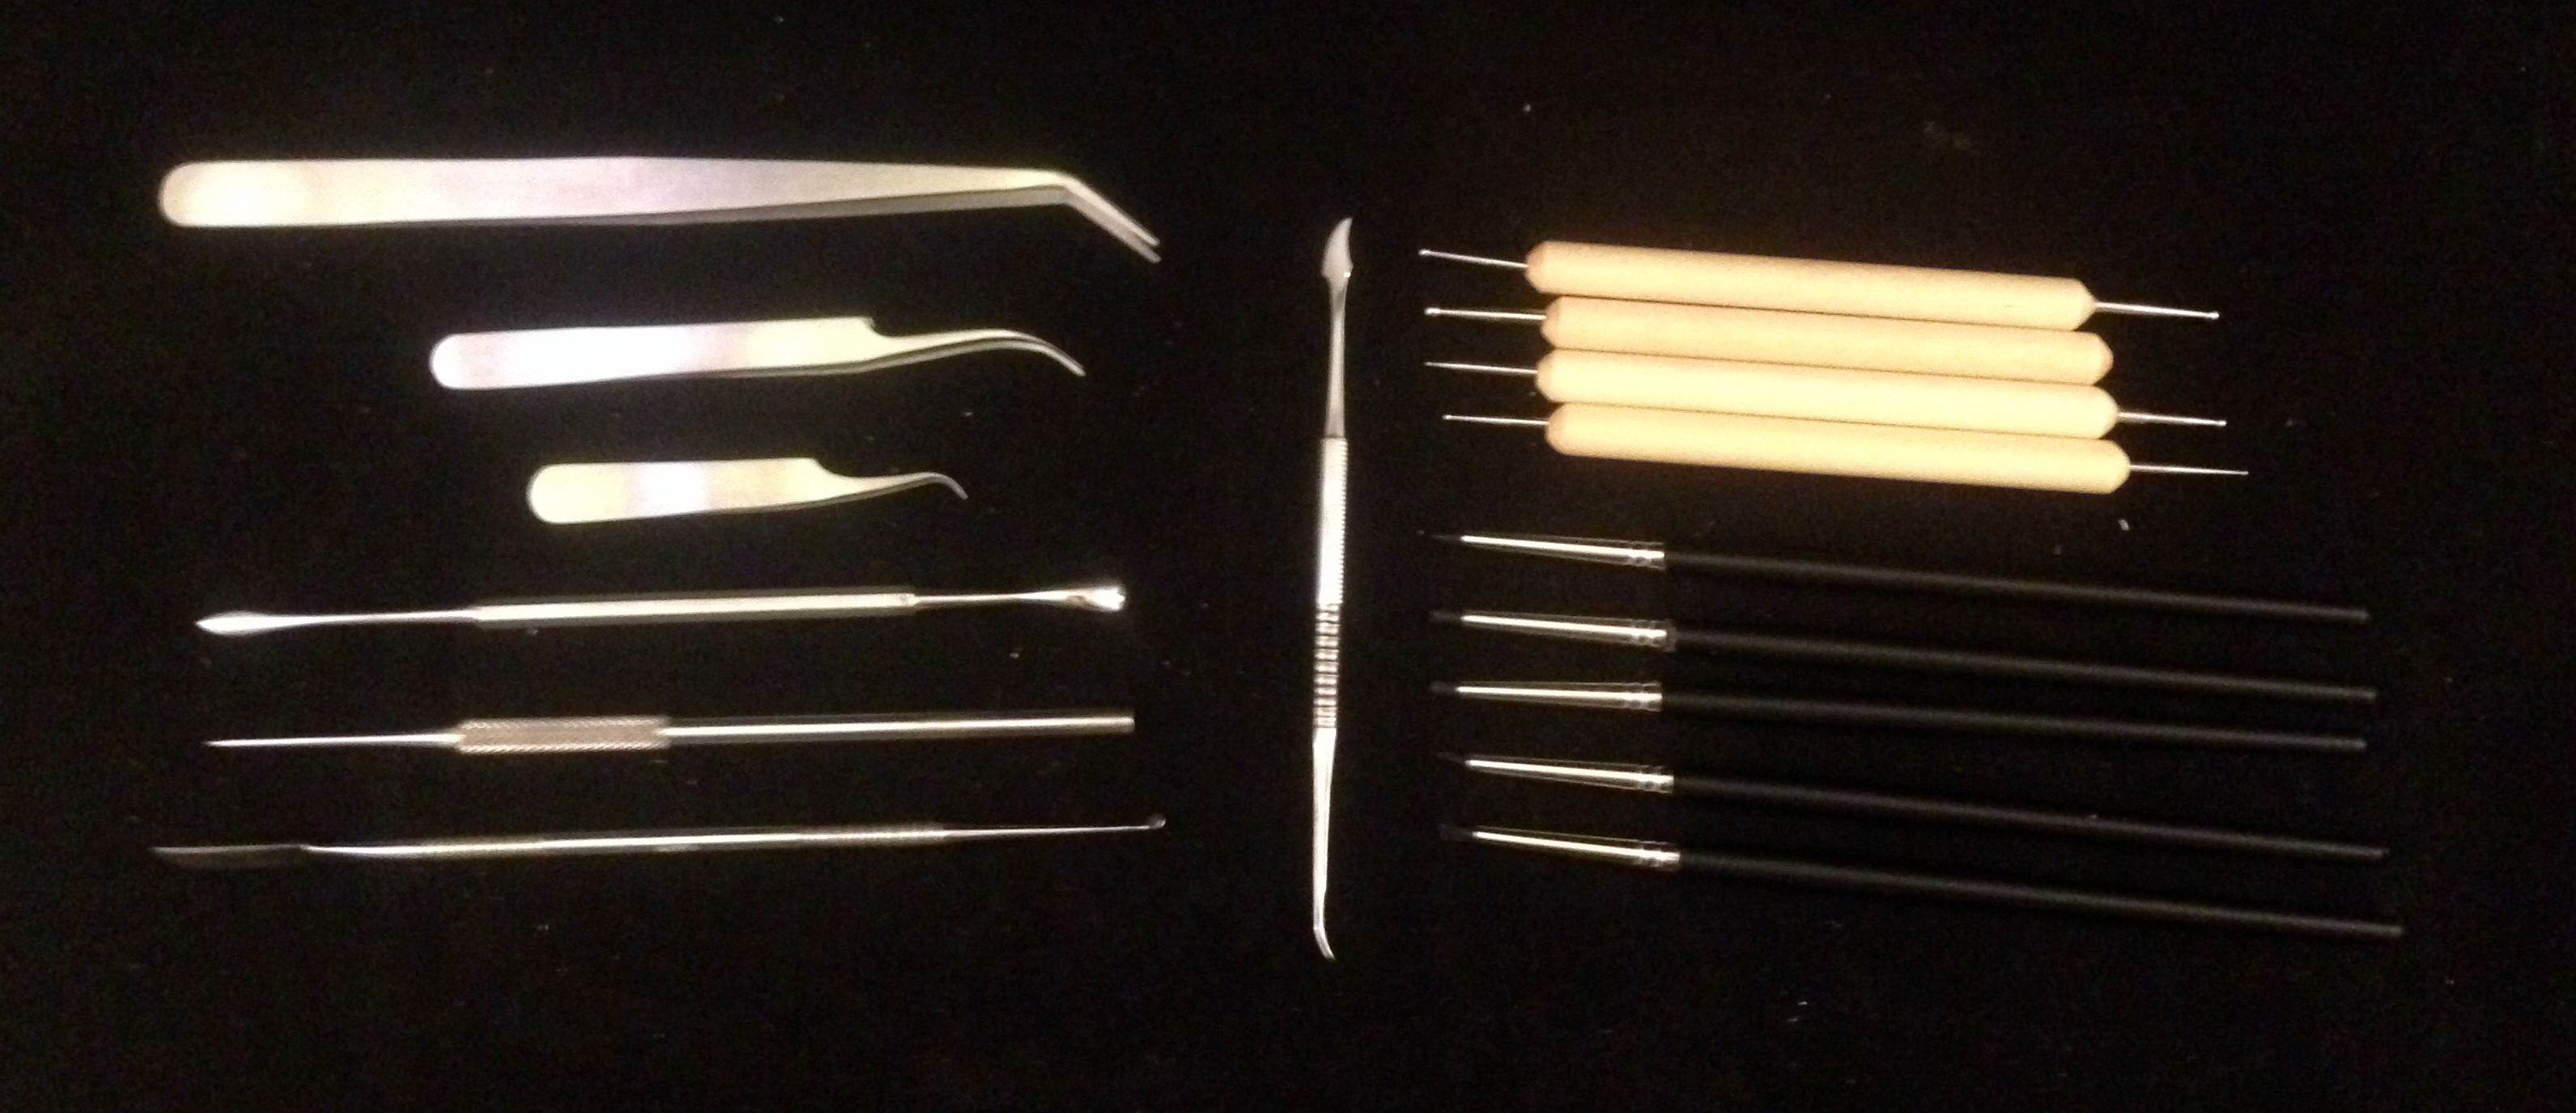
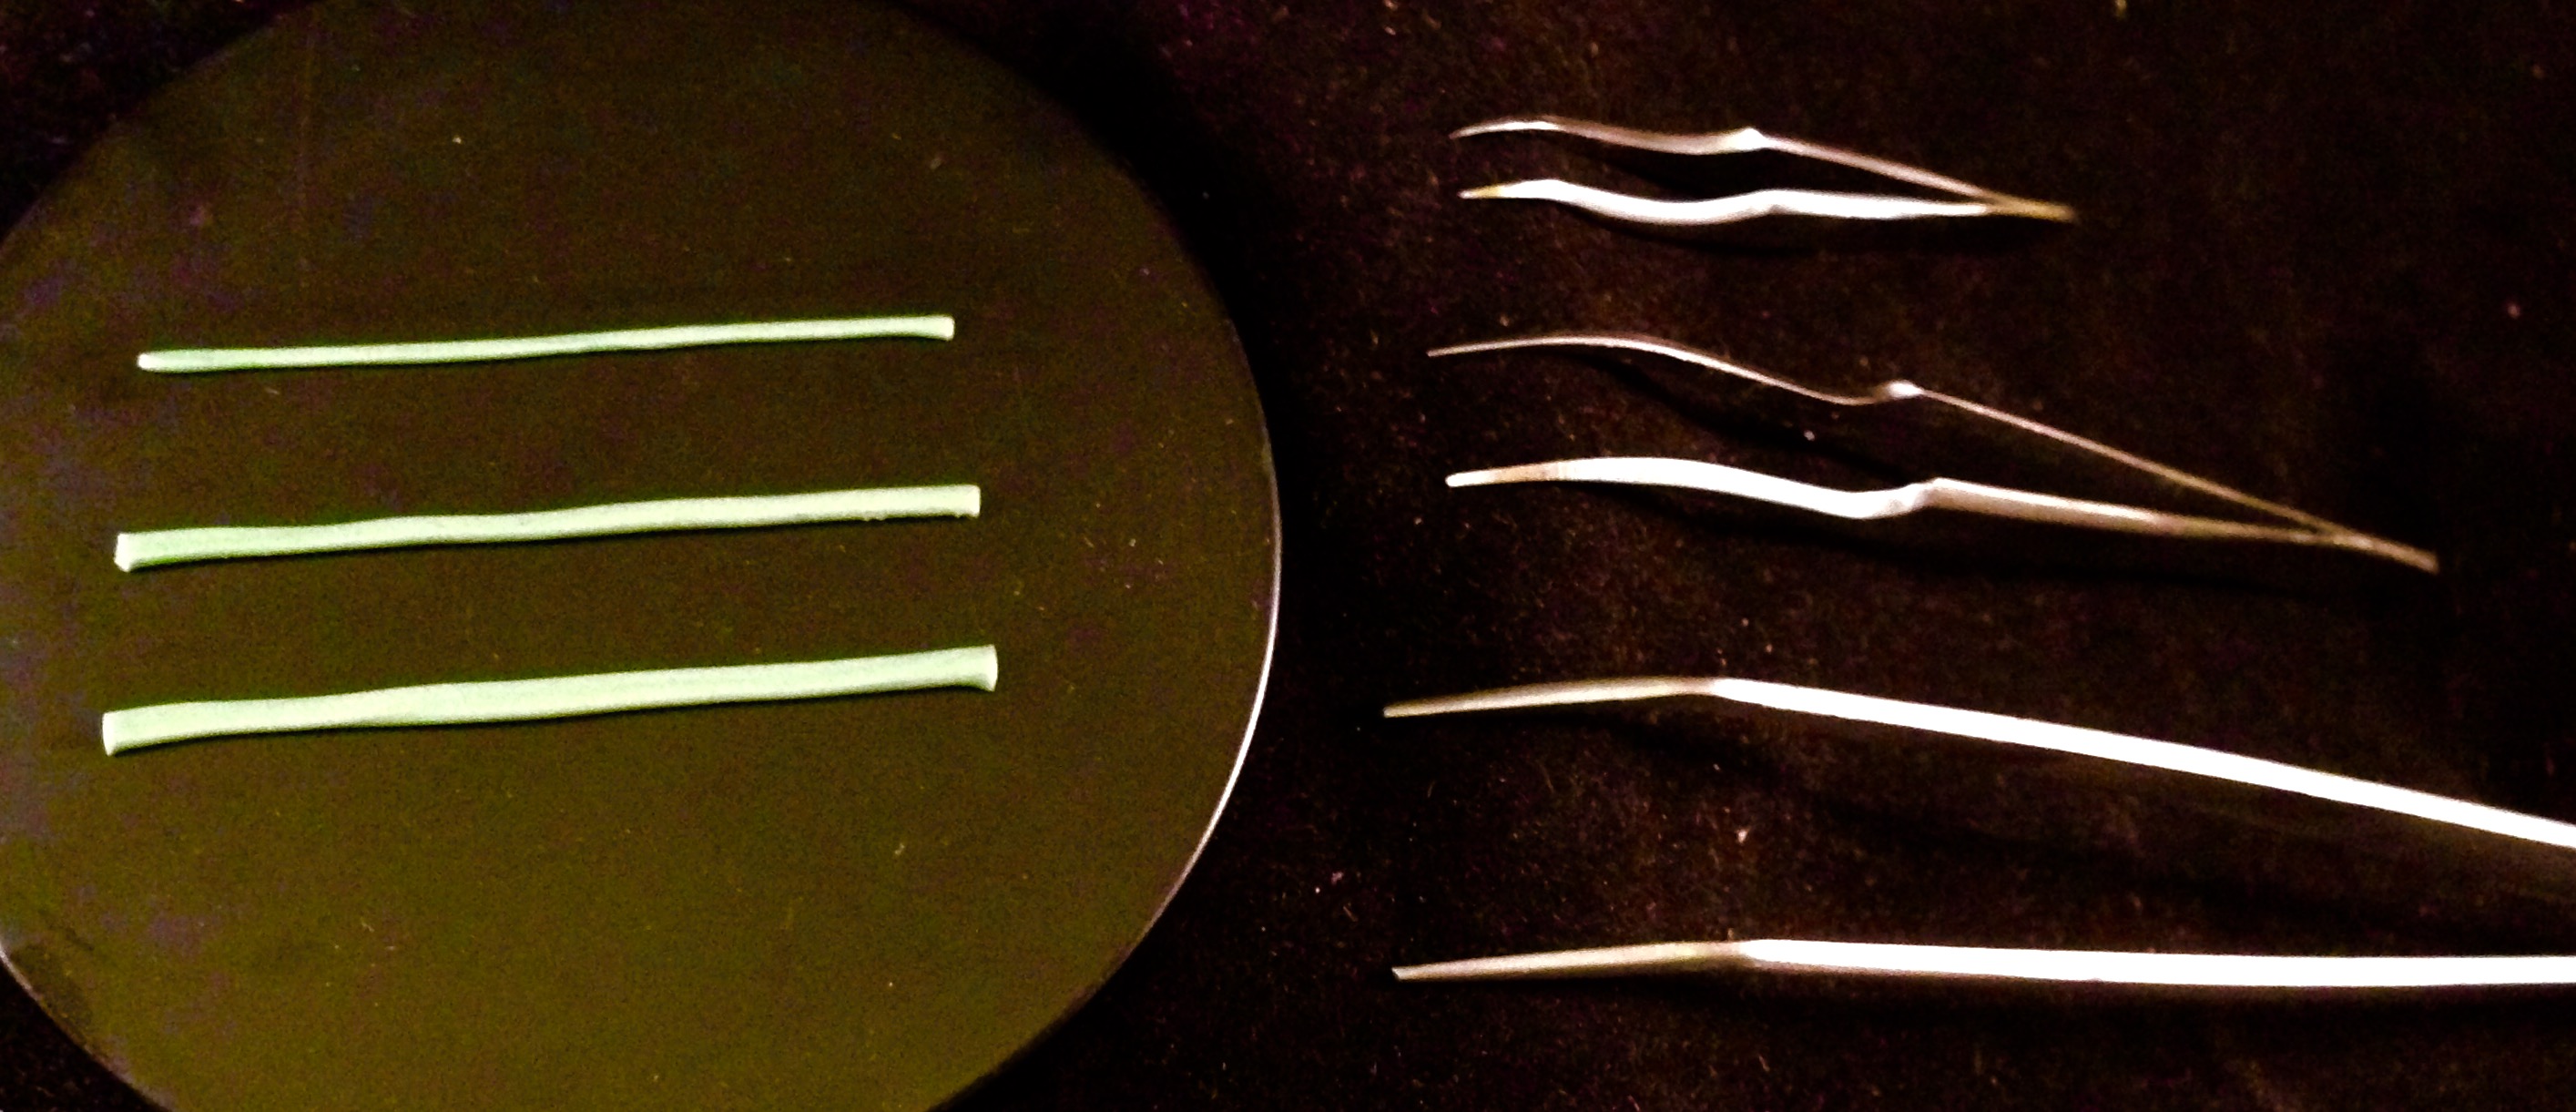
(L-R) 3 tweezers large, medium n small. 3 ball styluses large, medium n small. Clay shaper chisel point. Lil Wax (similar to a wax 5 sculpting tool but smaller). GDub tool (similar to the GW tool but rounded on one end rather than flat).
-
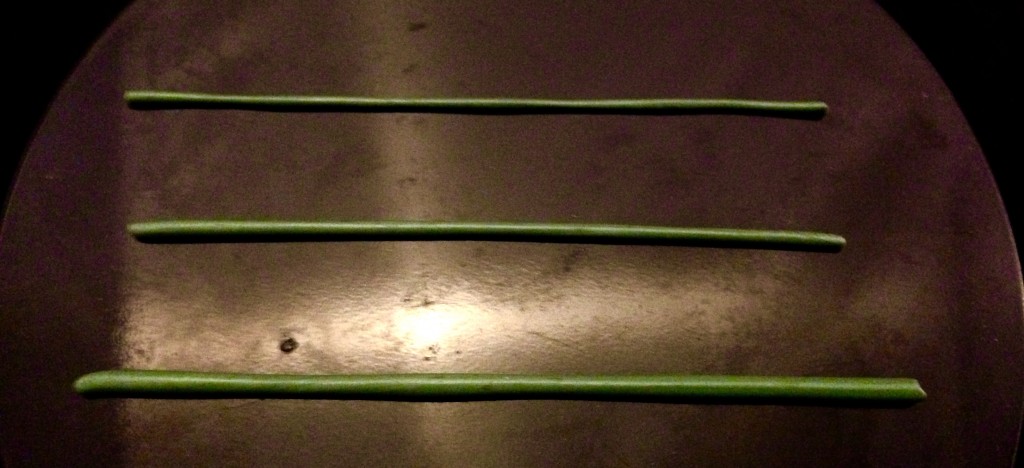
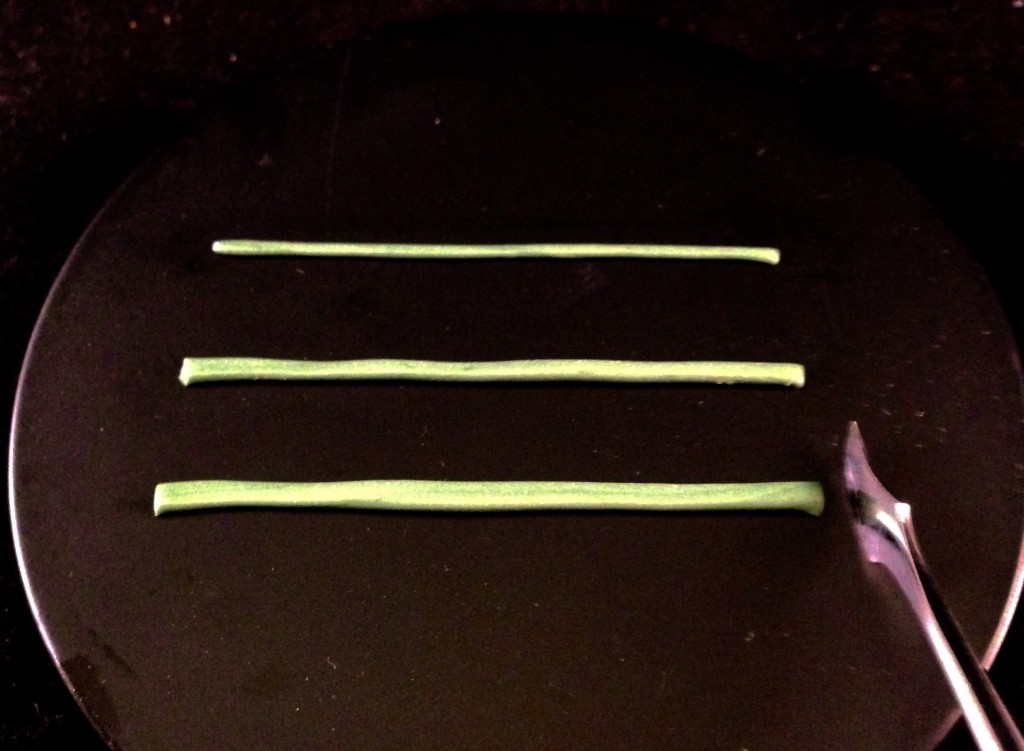
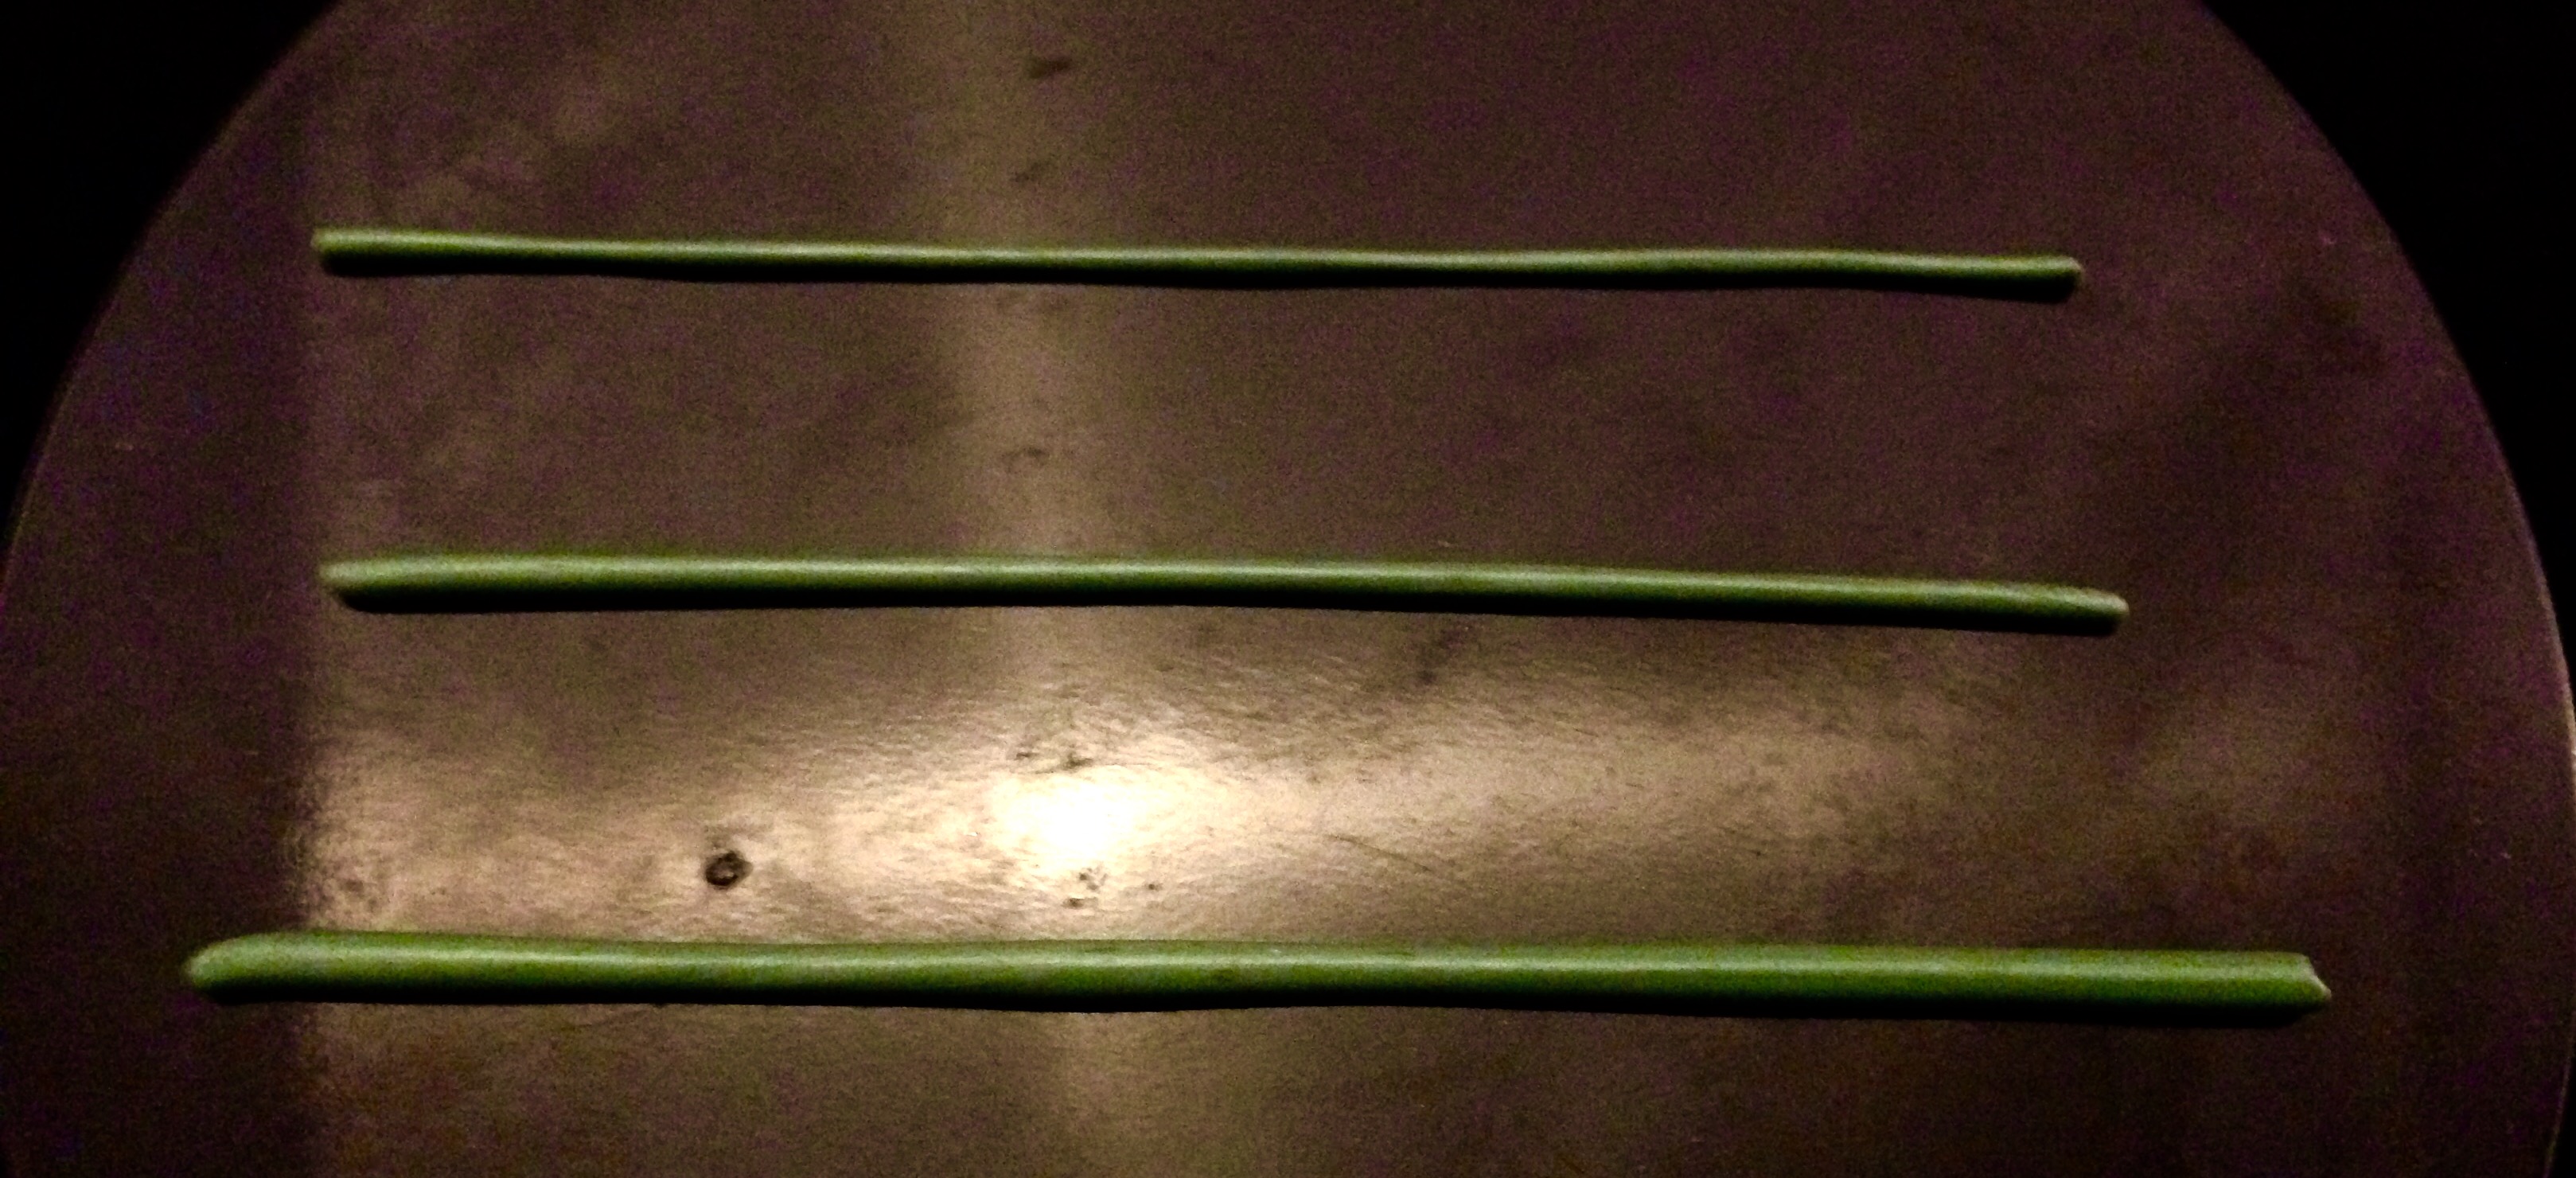
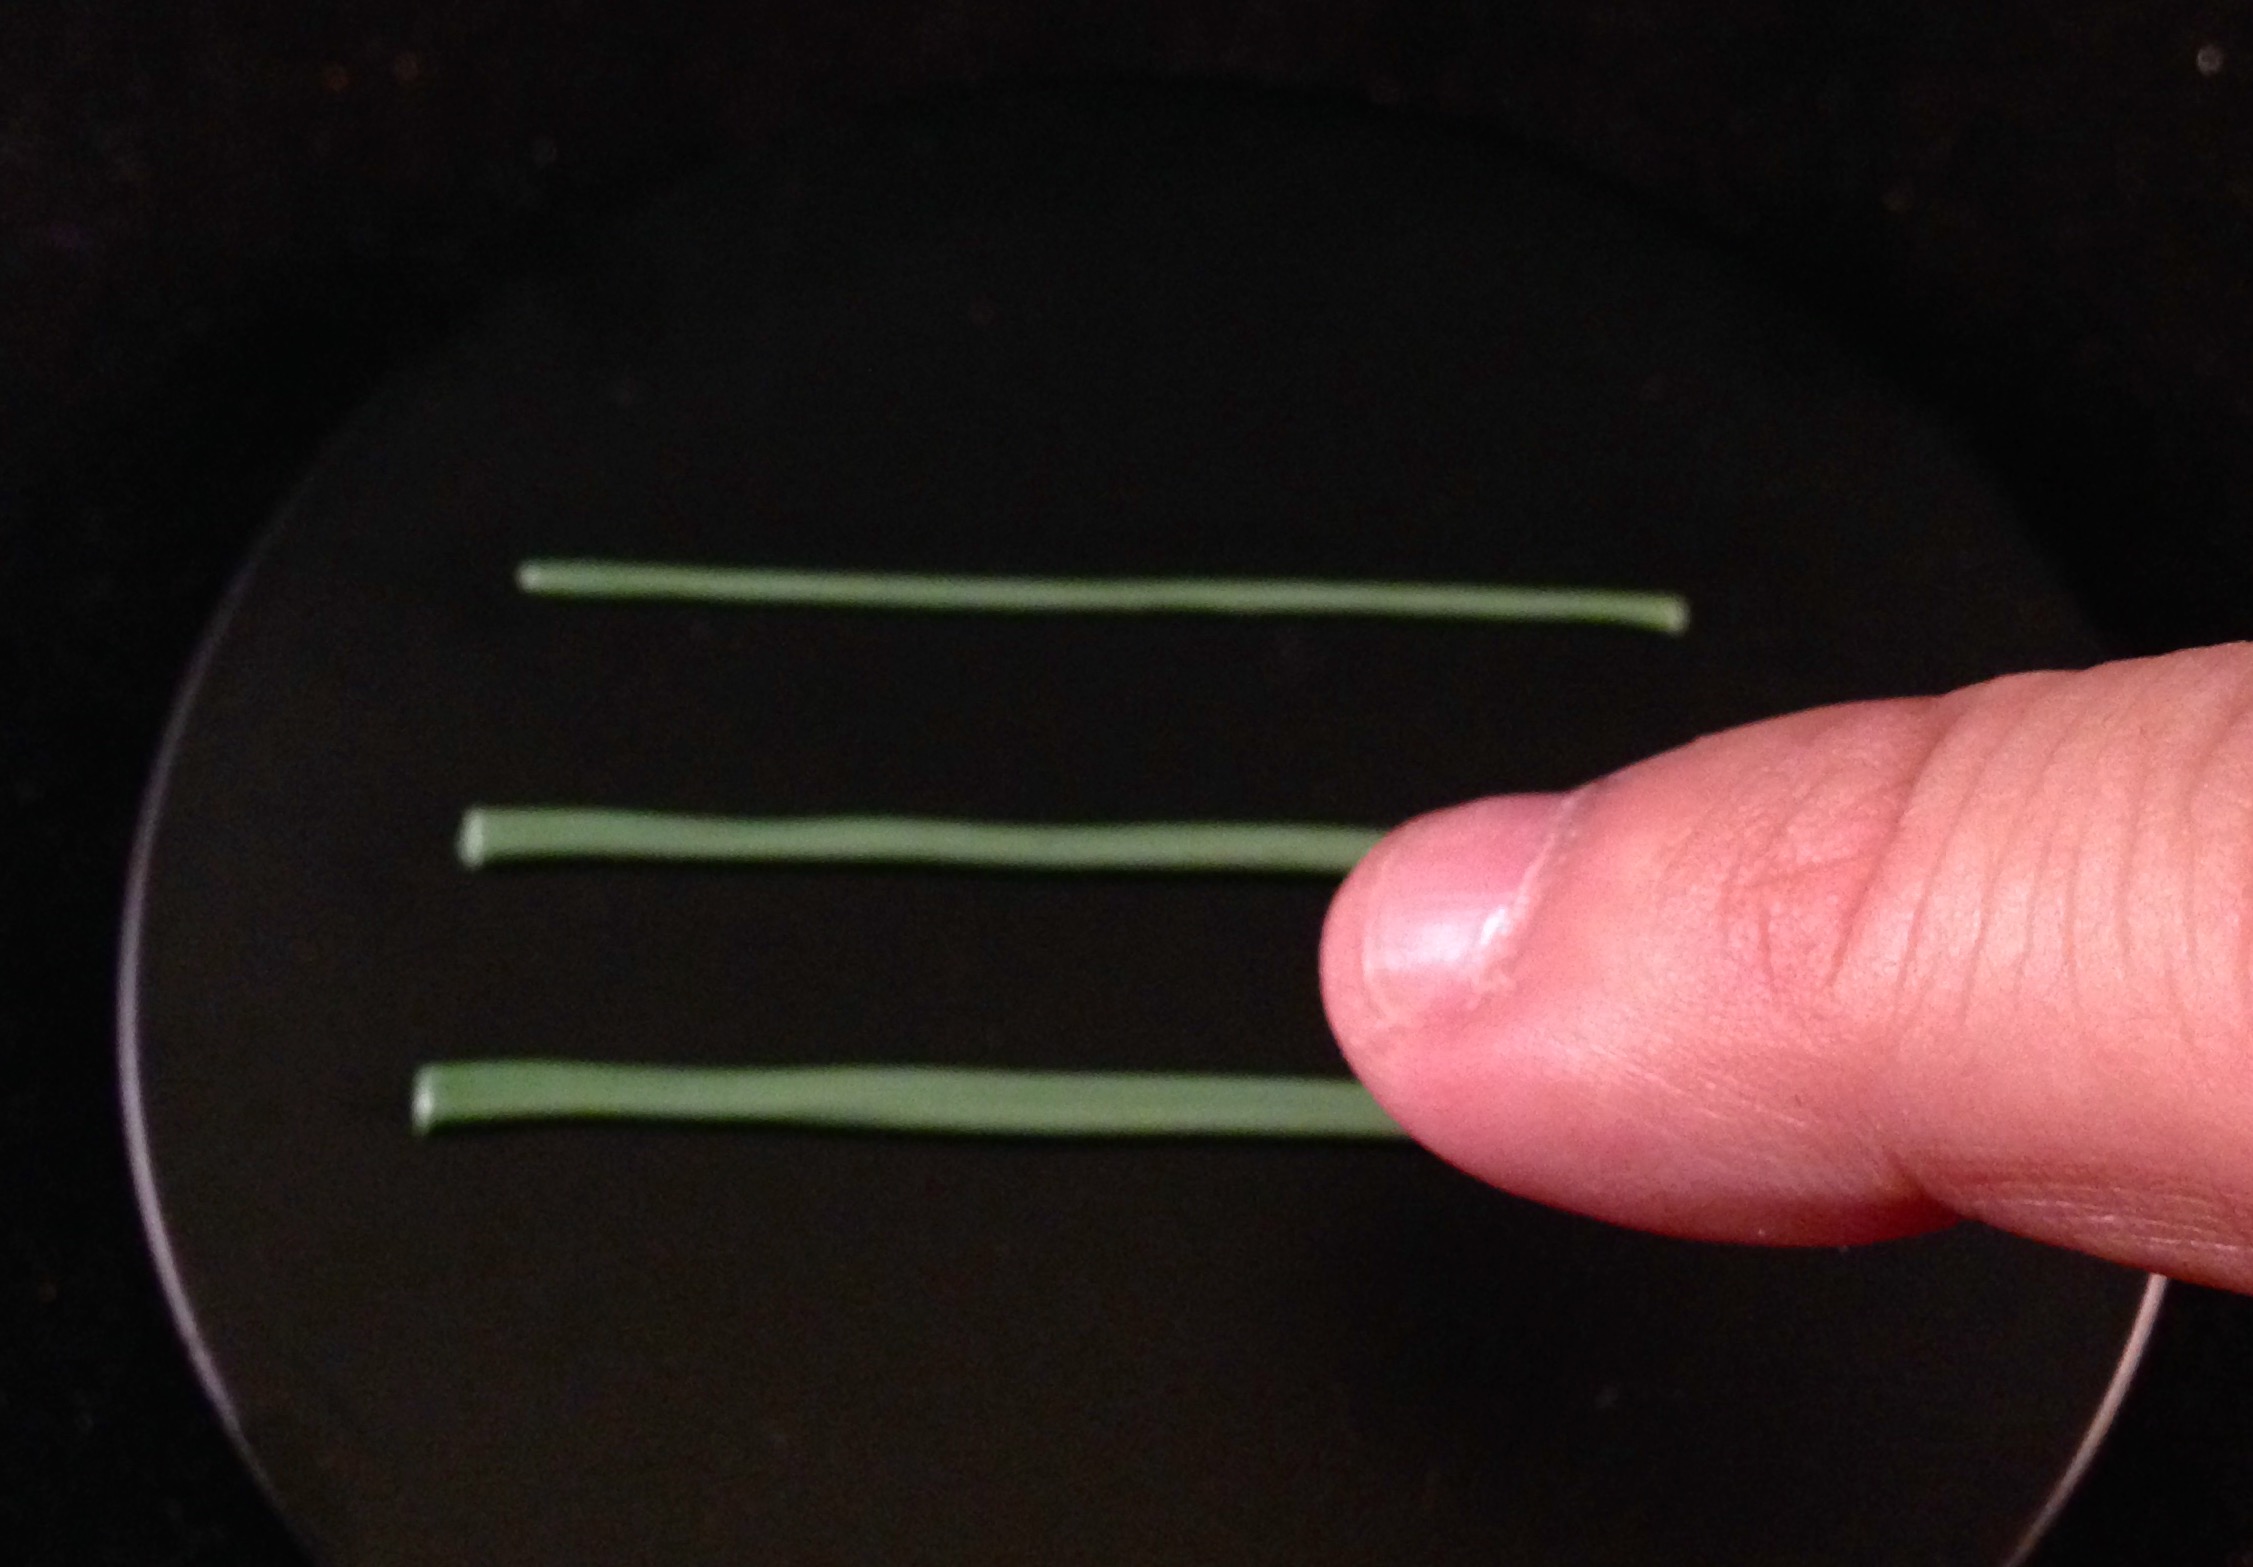
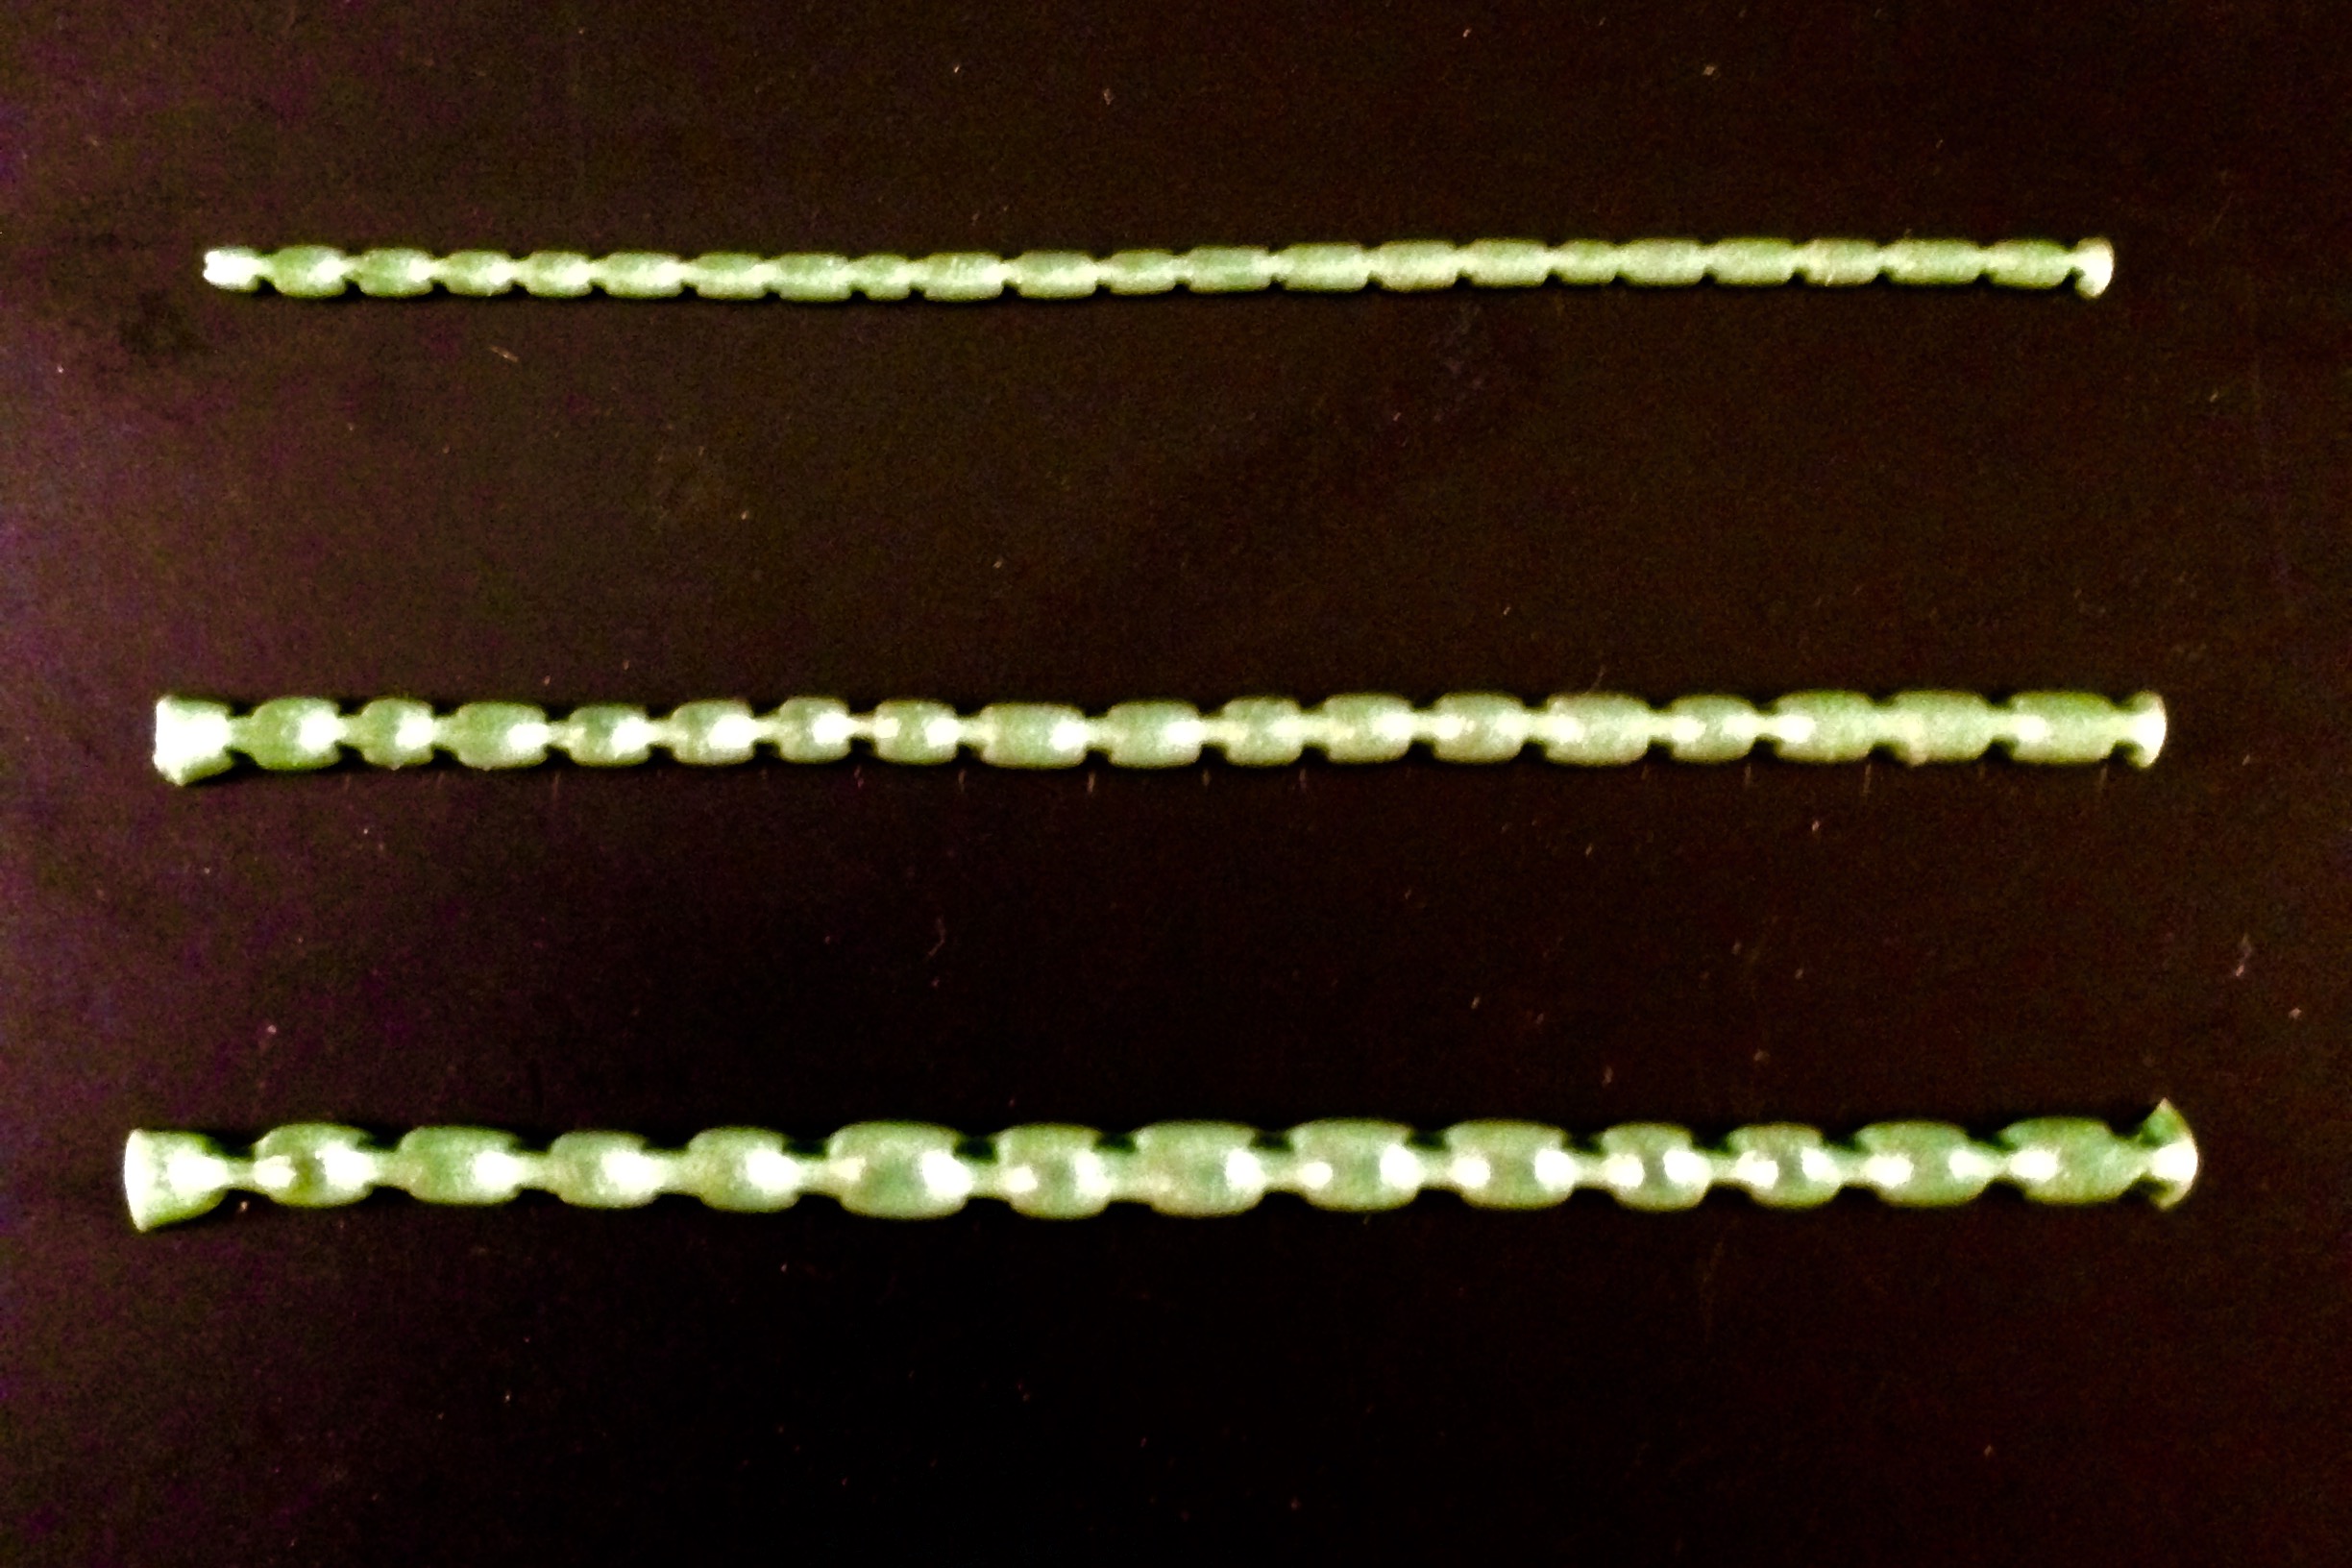
Roll 3 varying tubes of greenstuff.
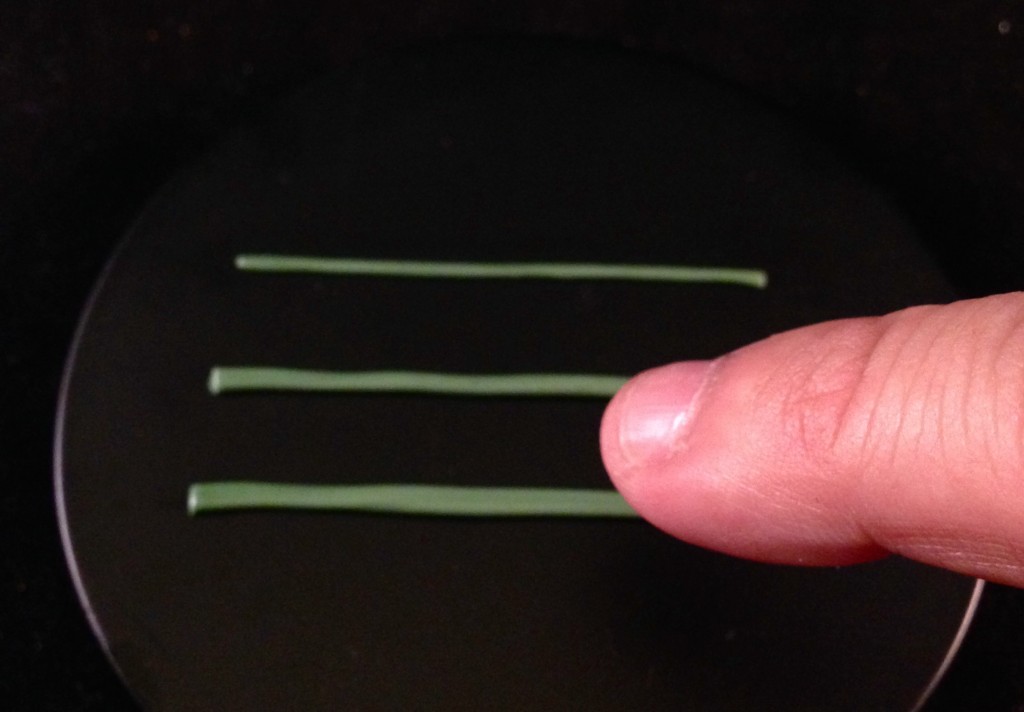
- One of the best tools at your disposal is your pinky, gently glide it across the top to adhere the tube to the sculpting surface
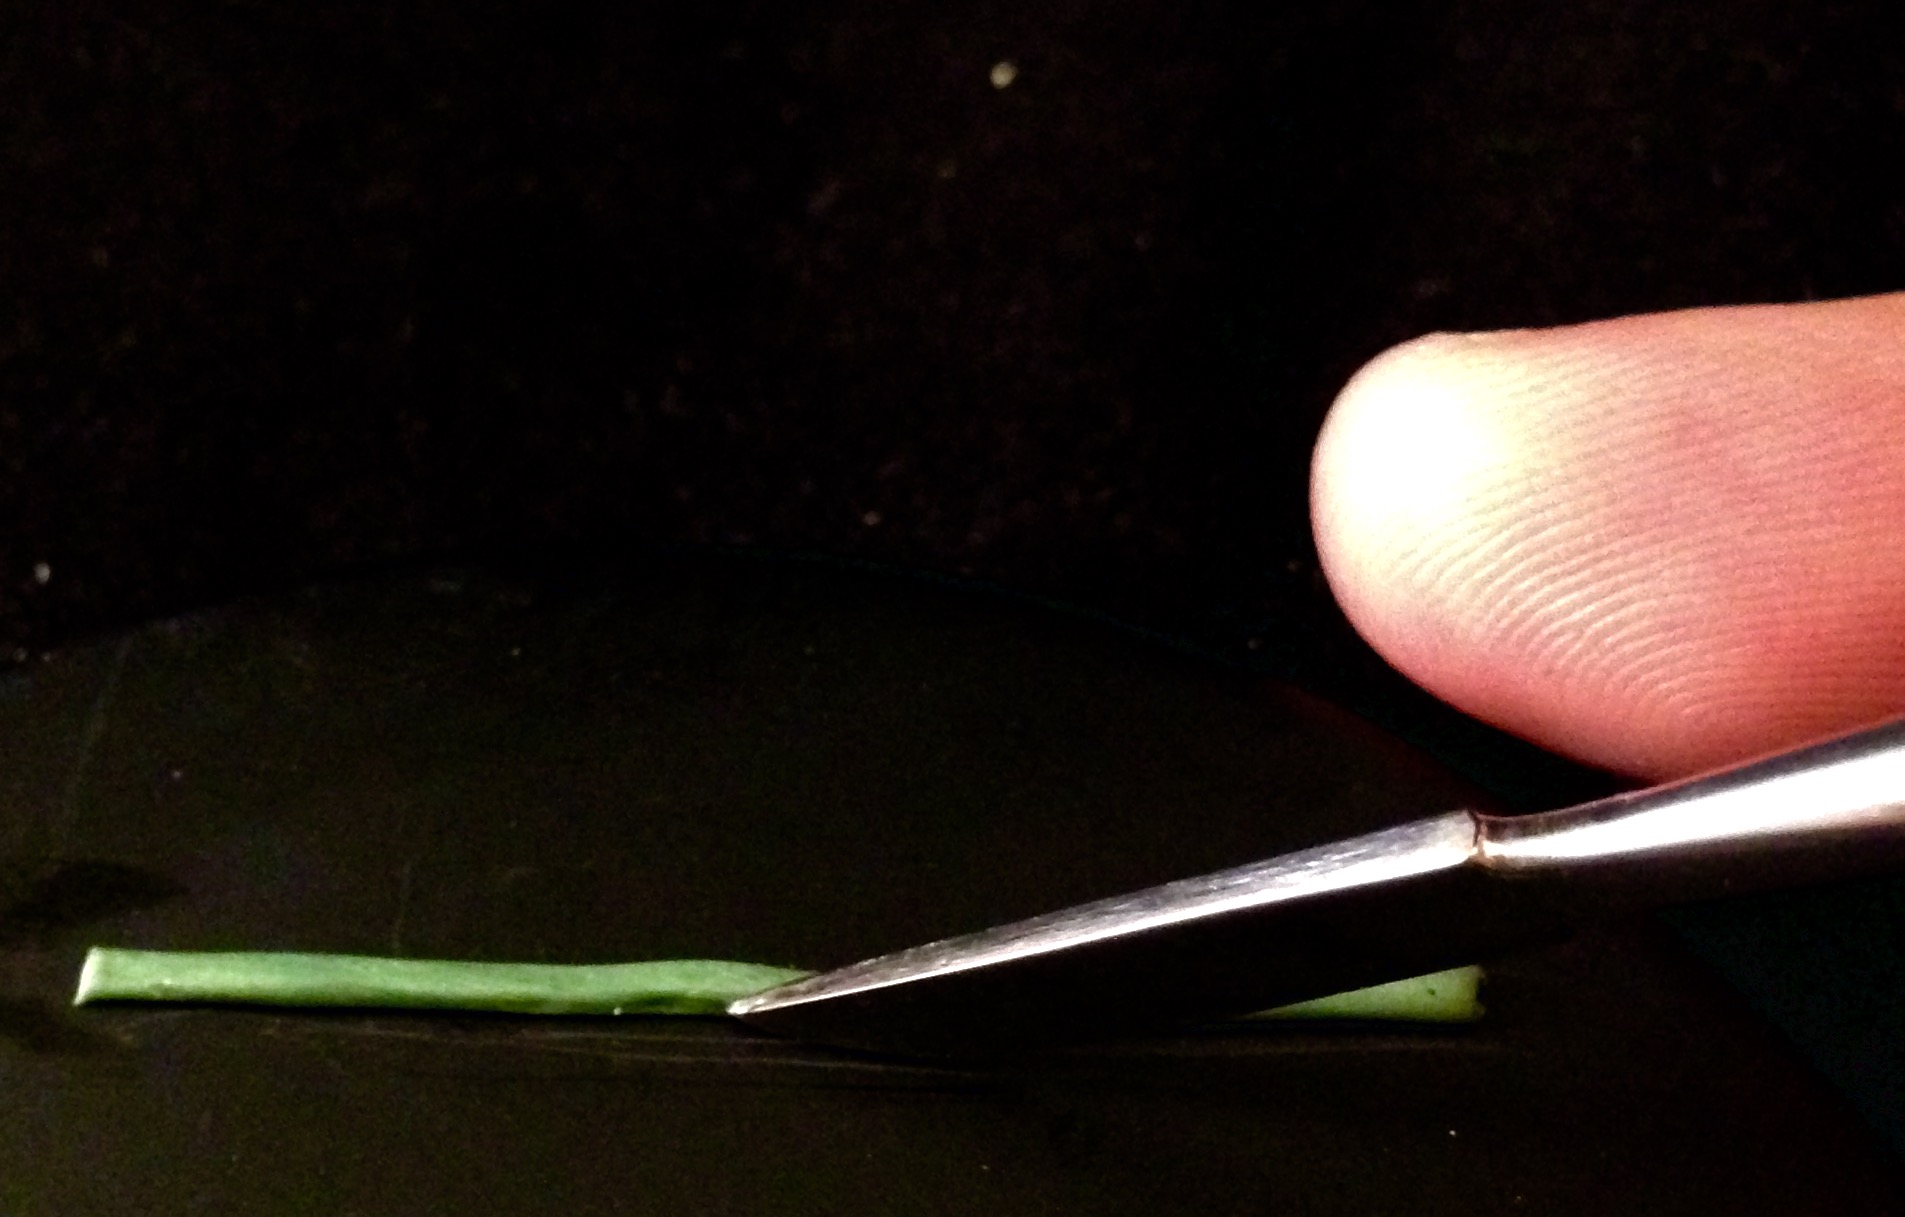
- Using the chisel headed shaper, in one motion glide it across the top to level off the surface of your tubes. You want to flatten it out but still retain some thickness.
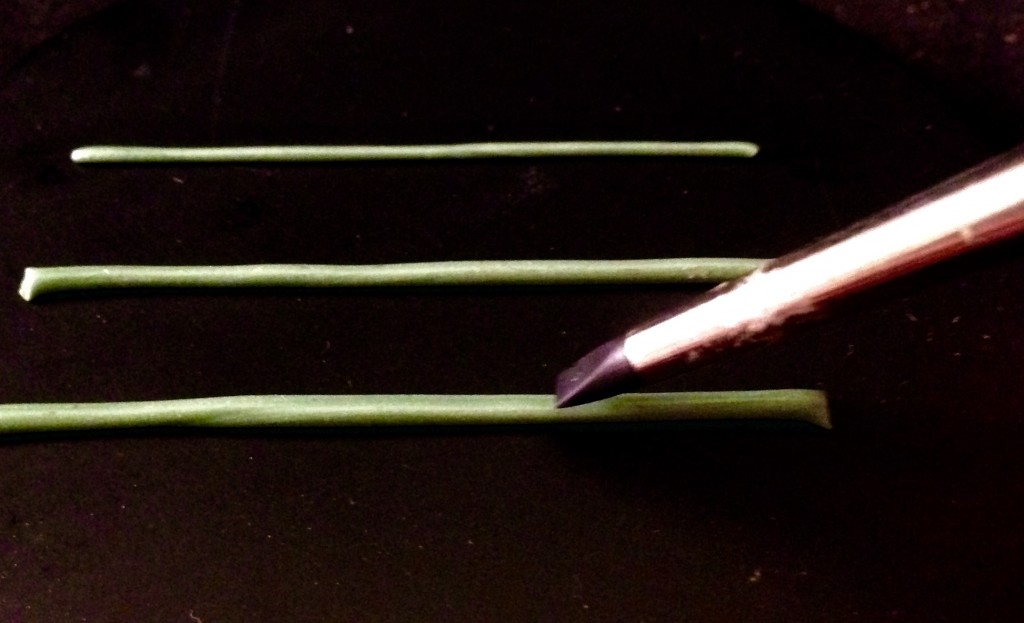
- Cut of the ends using your lil wax tool so you now have long rectangles.
-
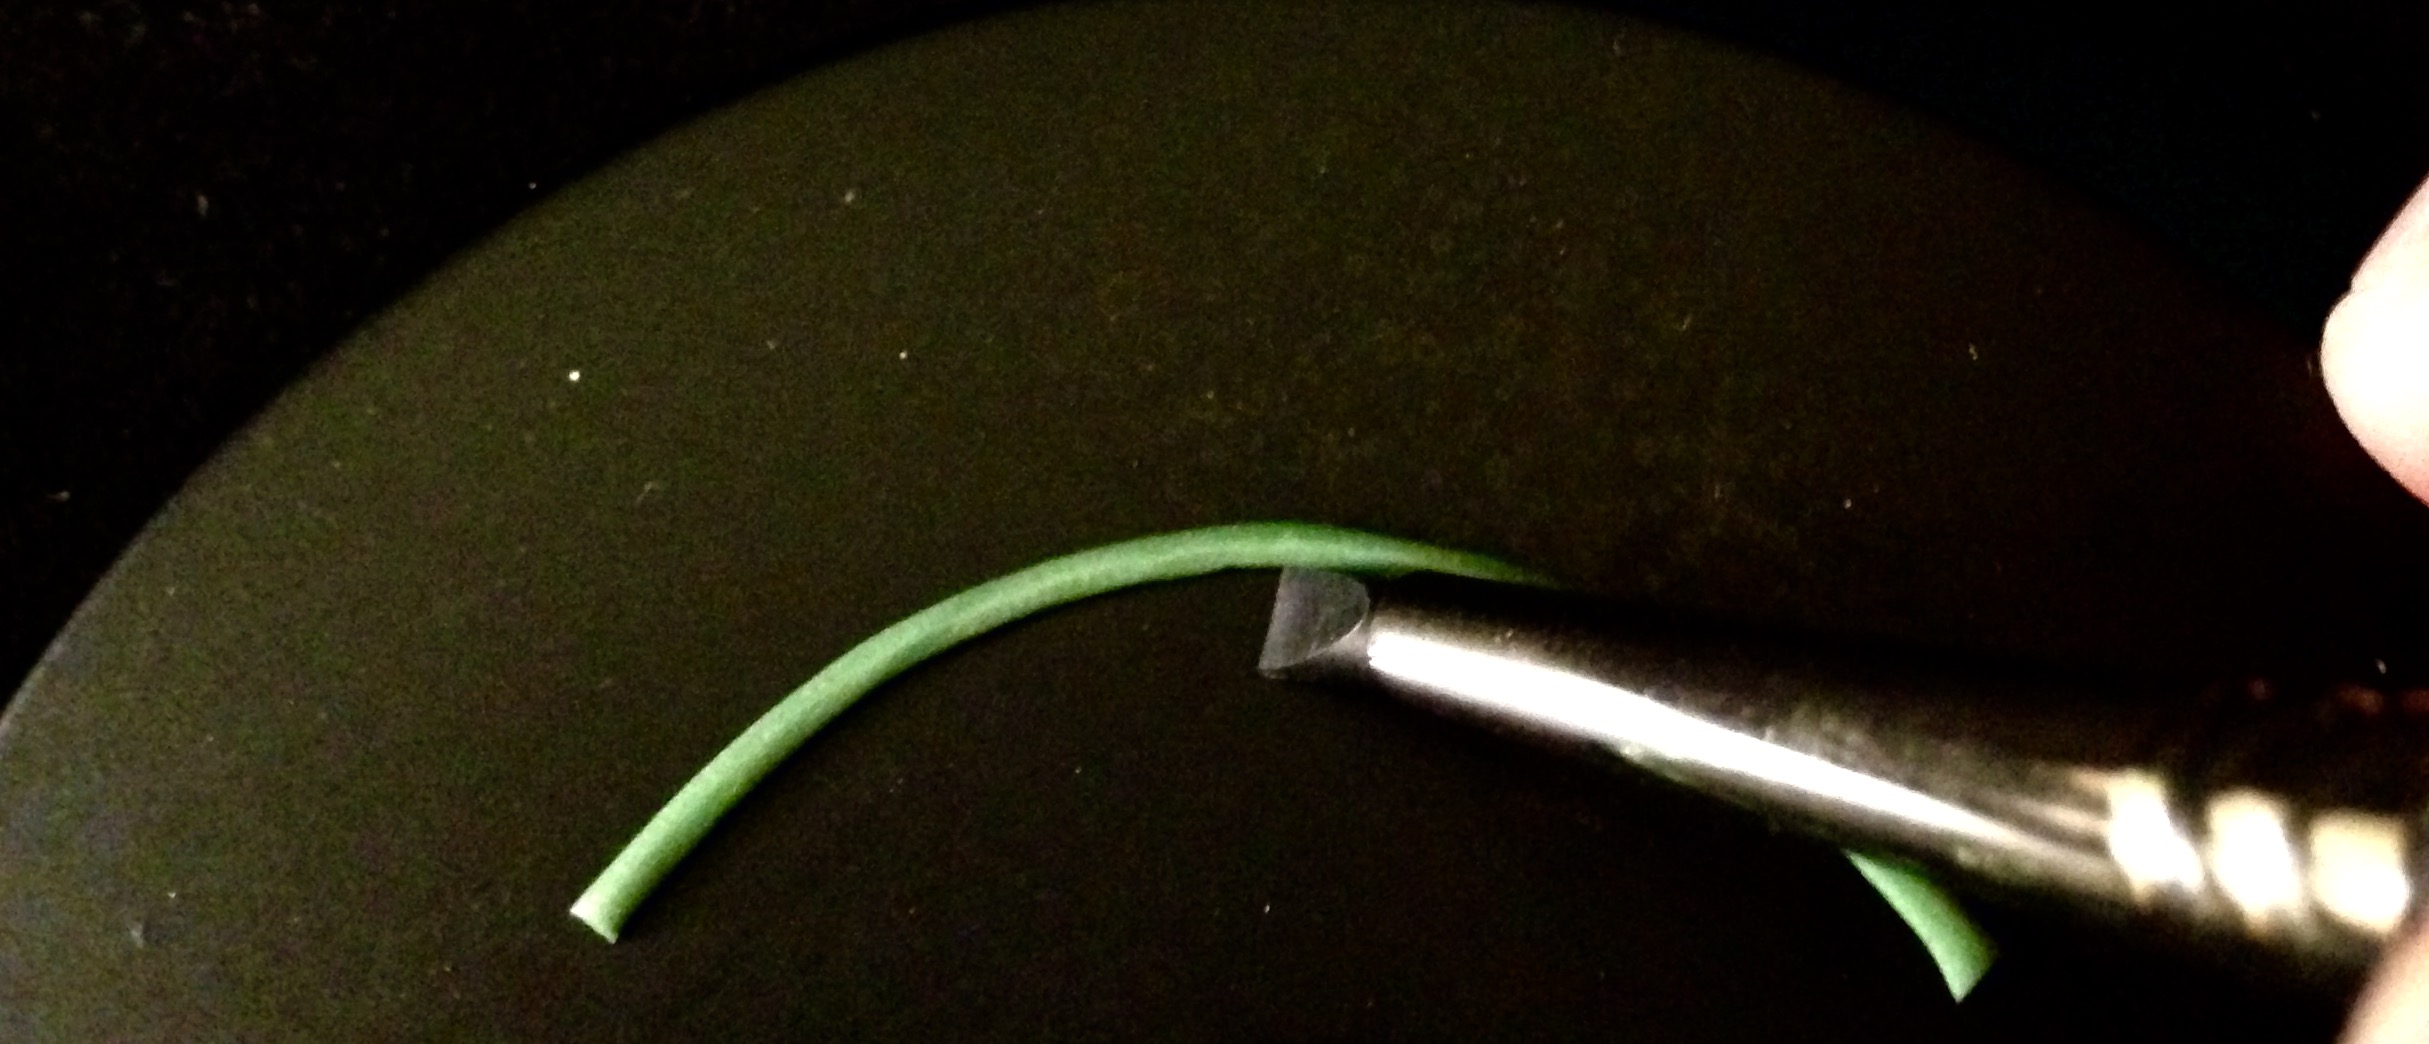
To straighten out your long rectangles, use your GDub tool

or if your tubes are curved use the chisel shaper.

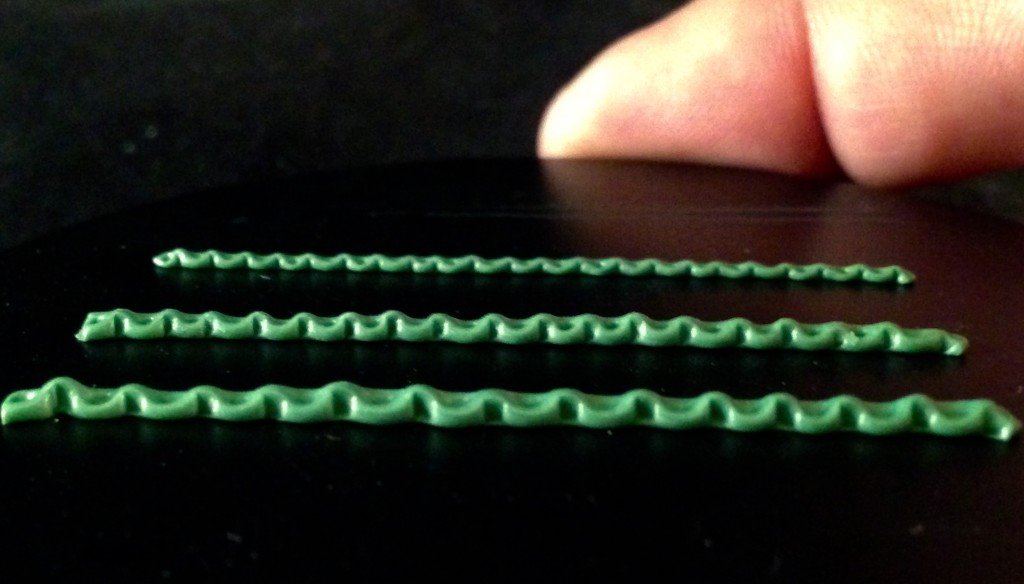
- Get your tweezers ready.
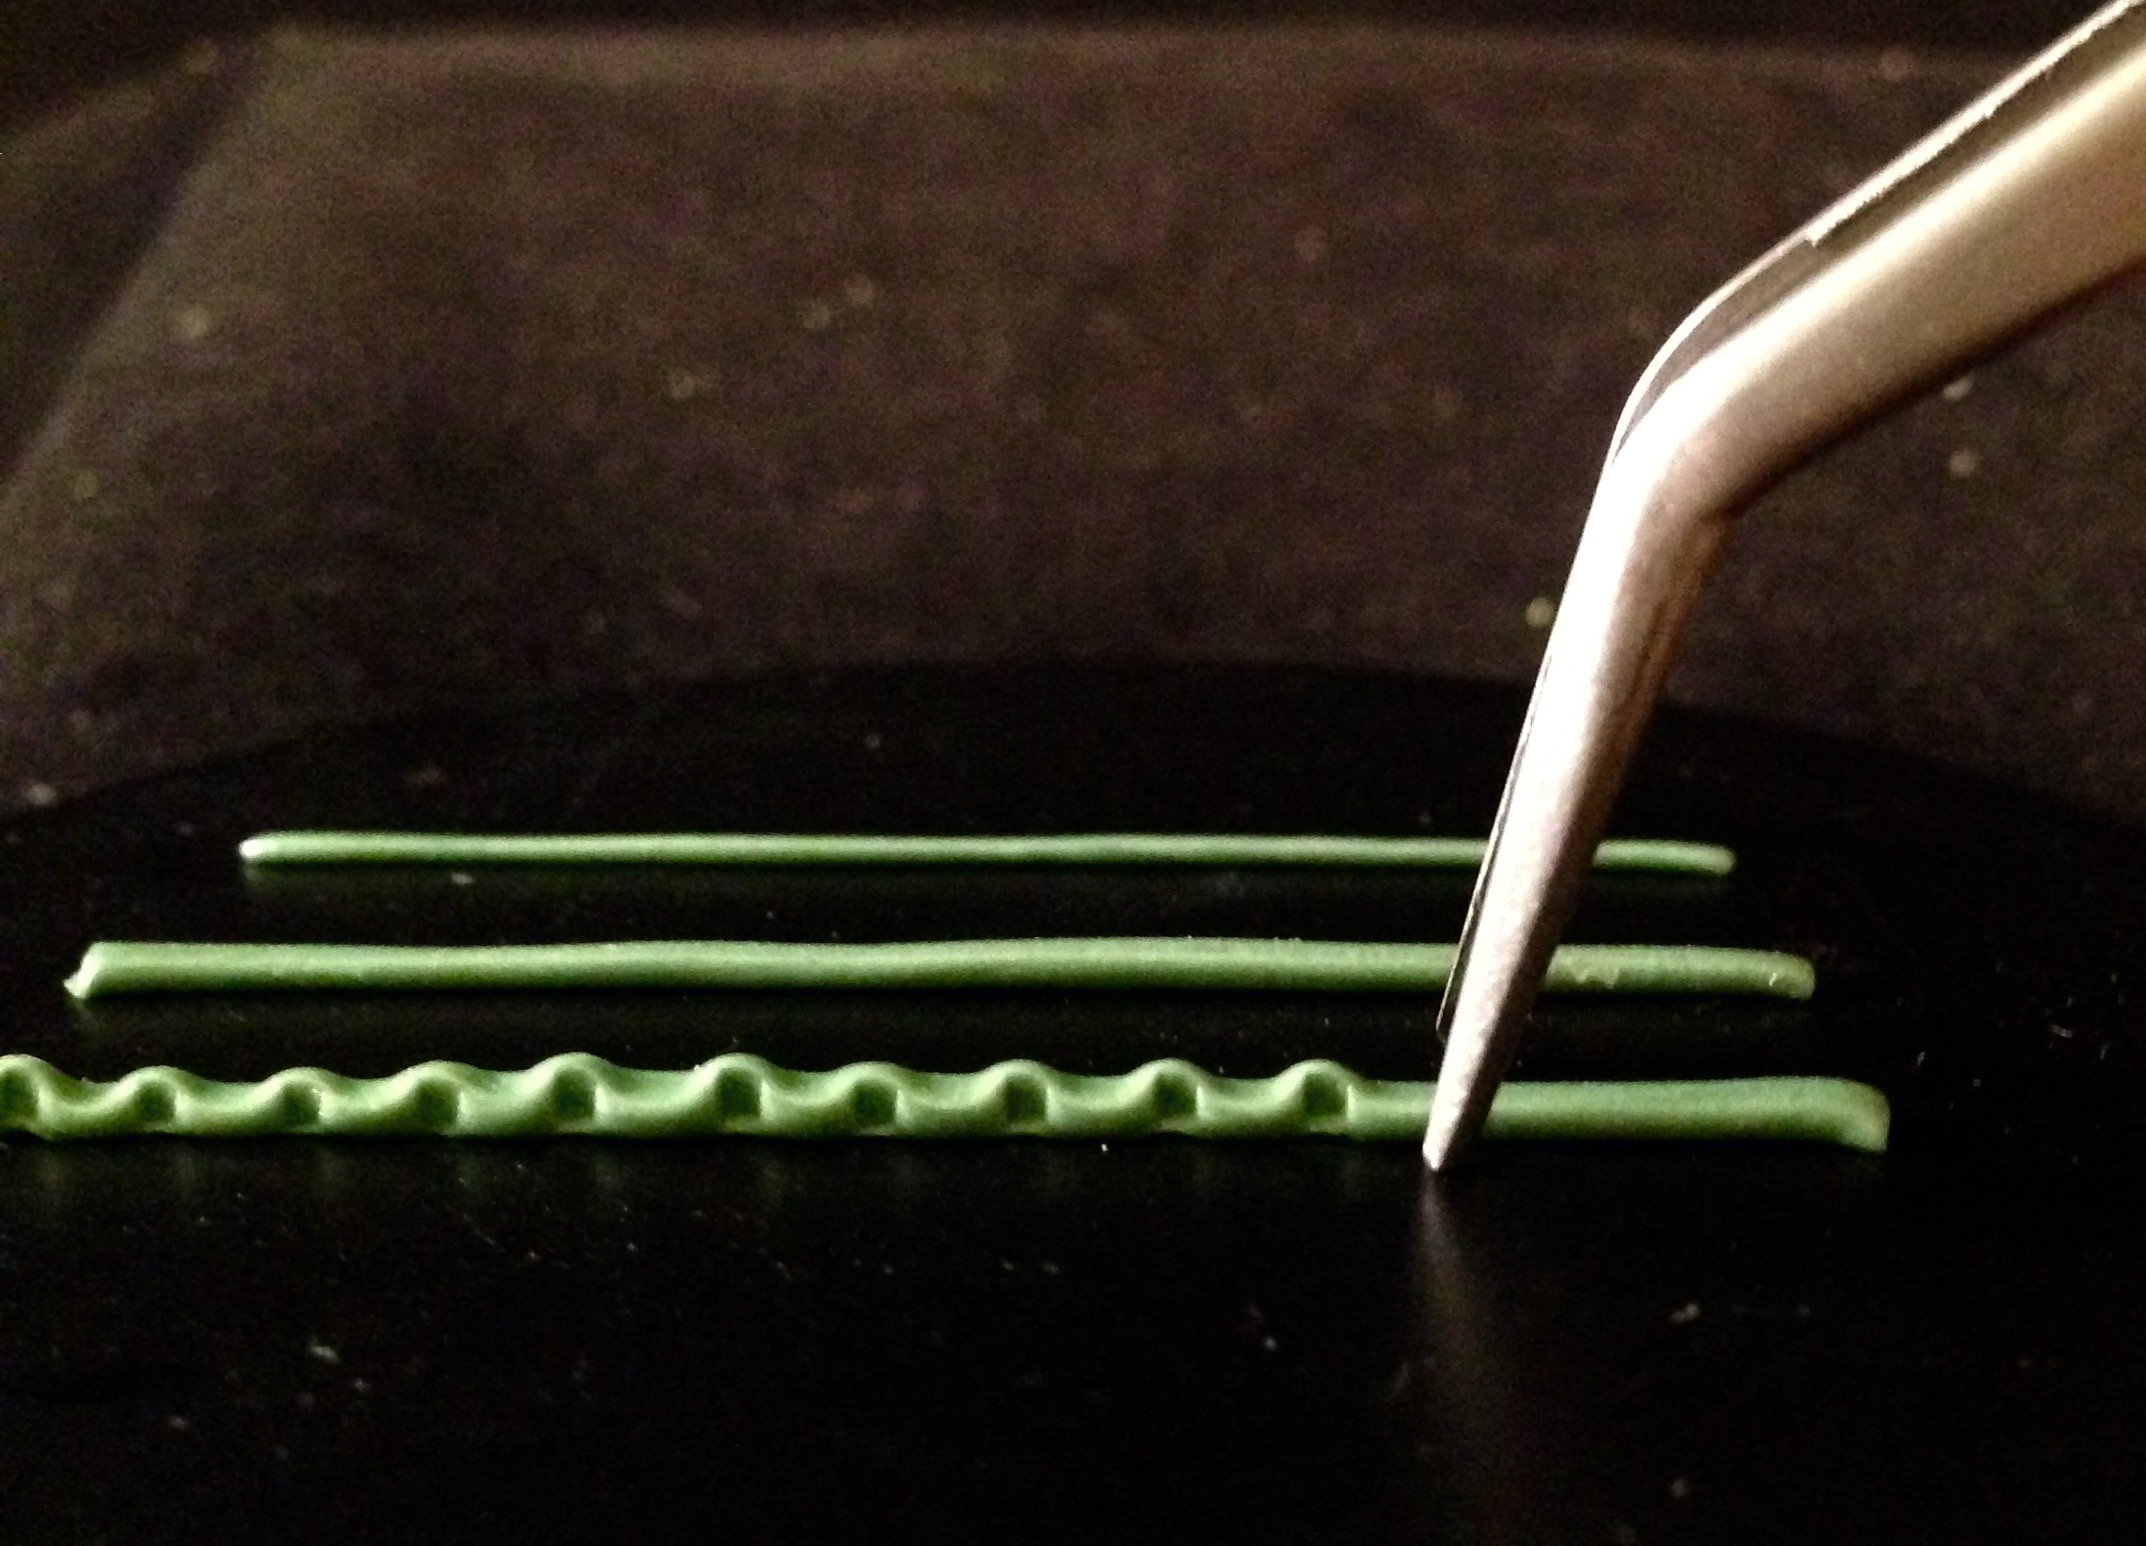
 Now using your tweezers, press in (do not squeeze in too much or there will be no link) to create the center link, and gently pull up to create a little height to it. Top view tweezing.
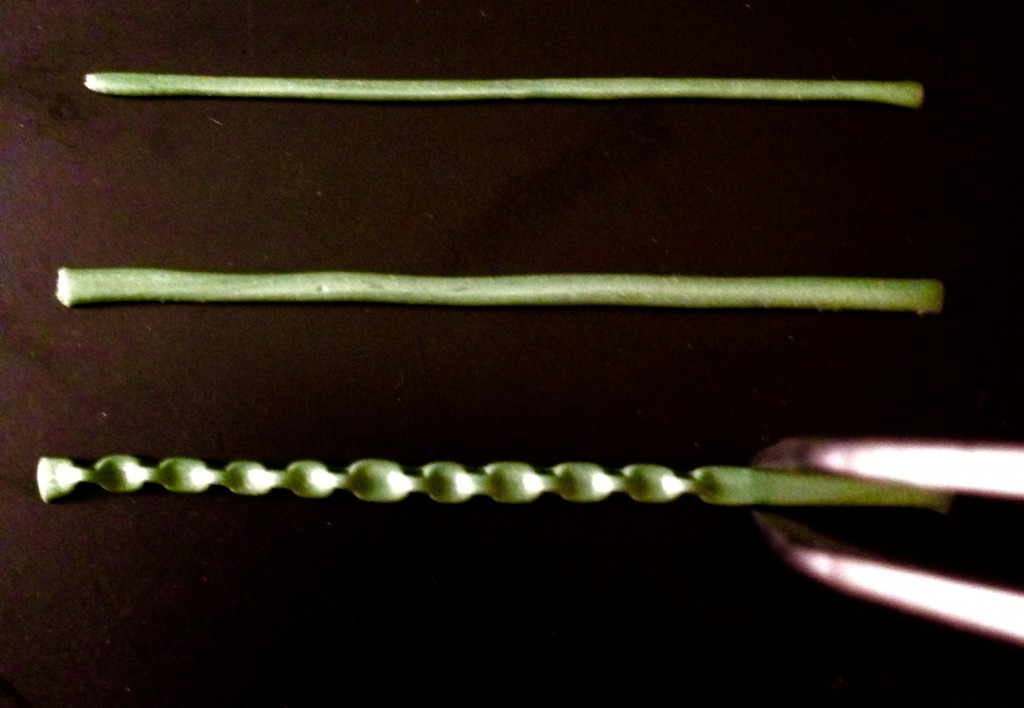
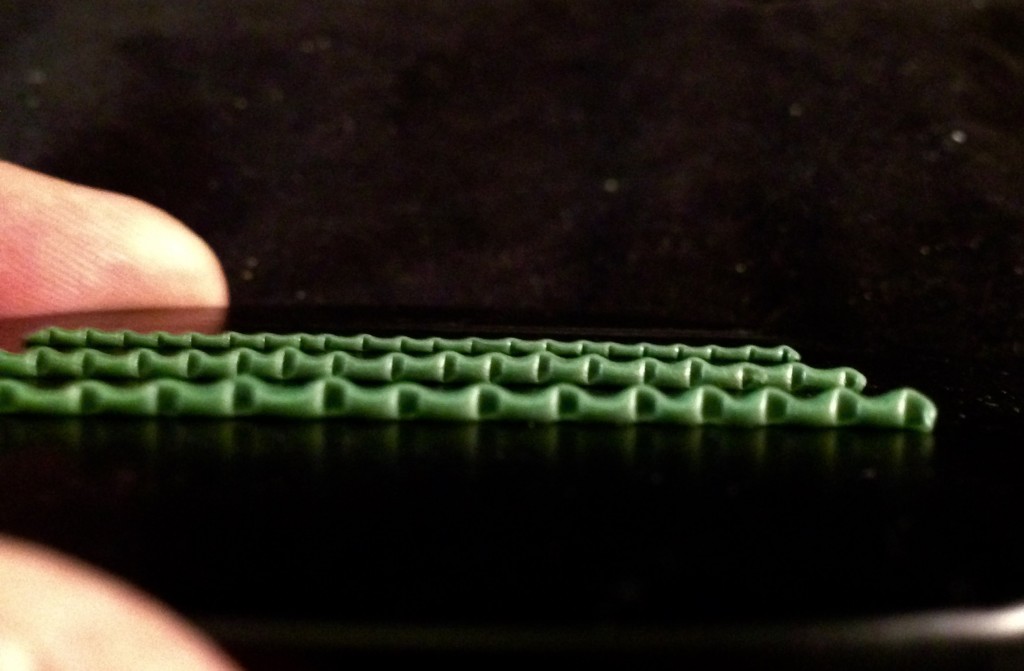
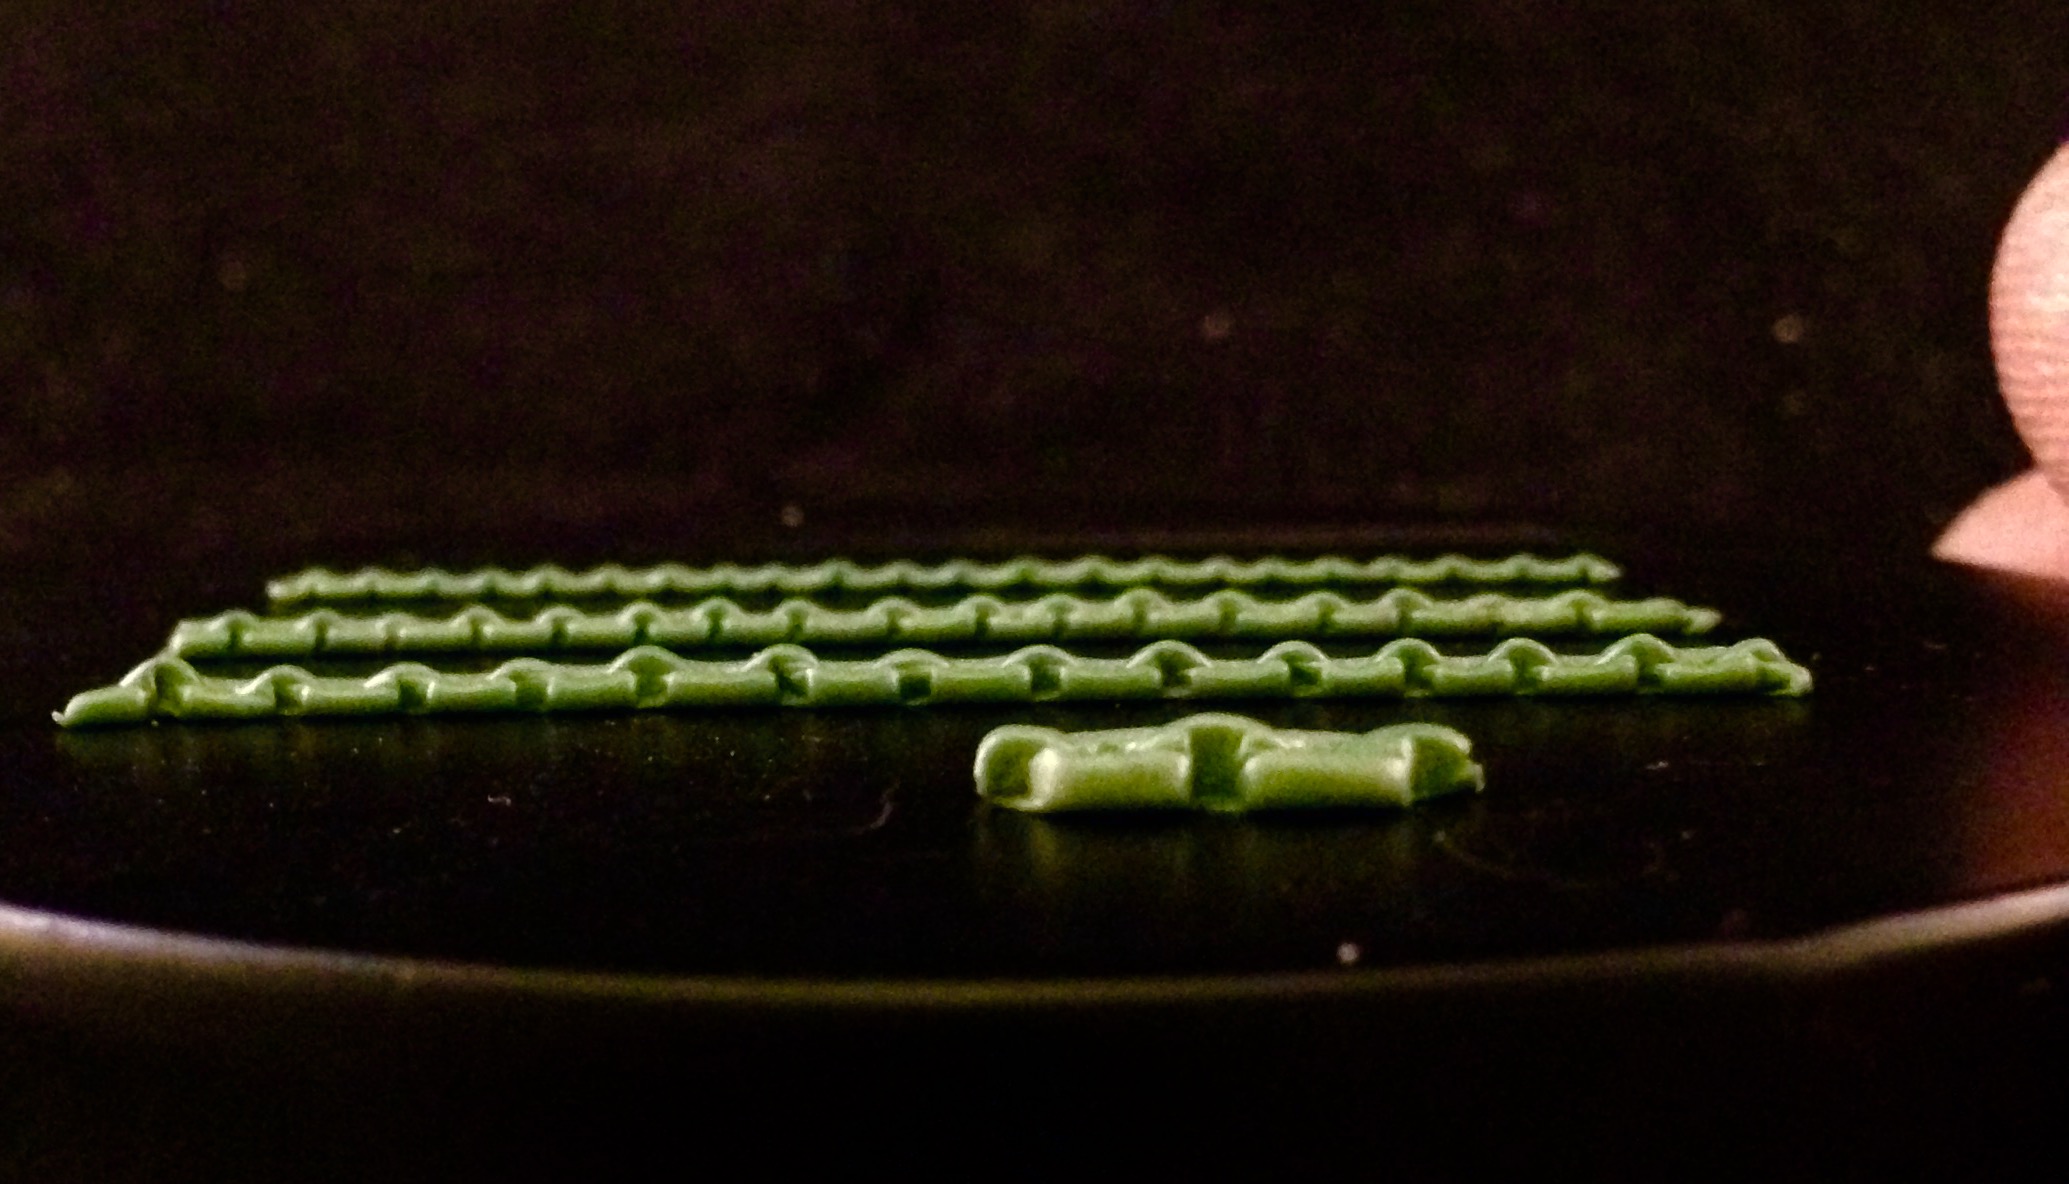
Side view tweezing

Completed tweezing top view
Completed tweezing side view
- Get your ball styluses ready.
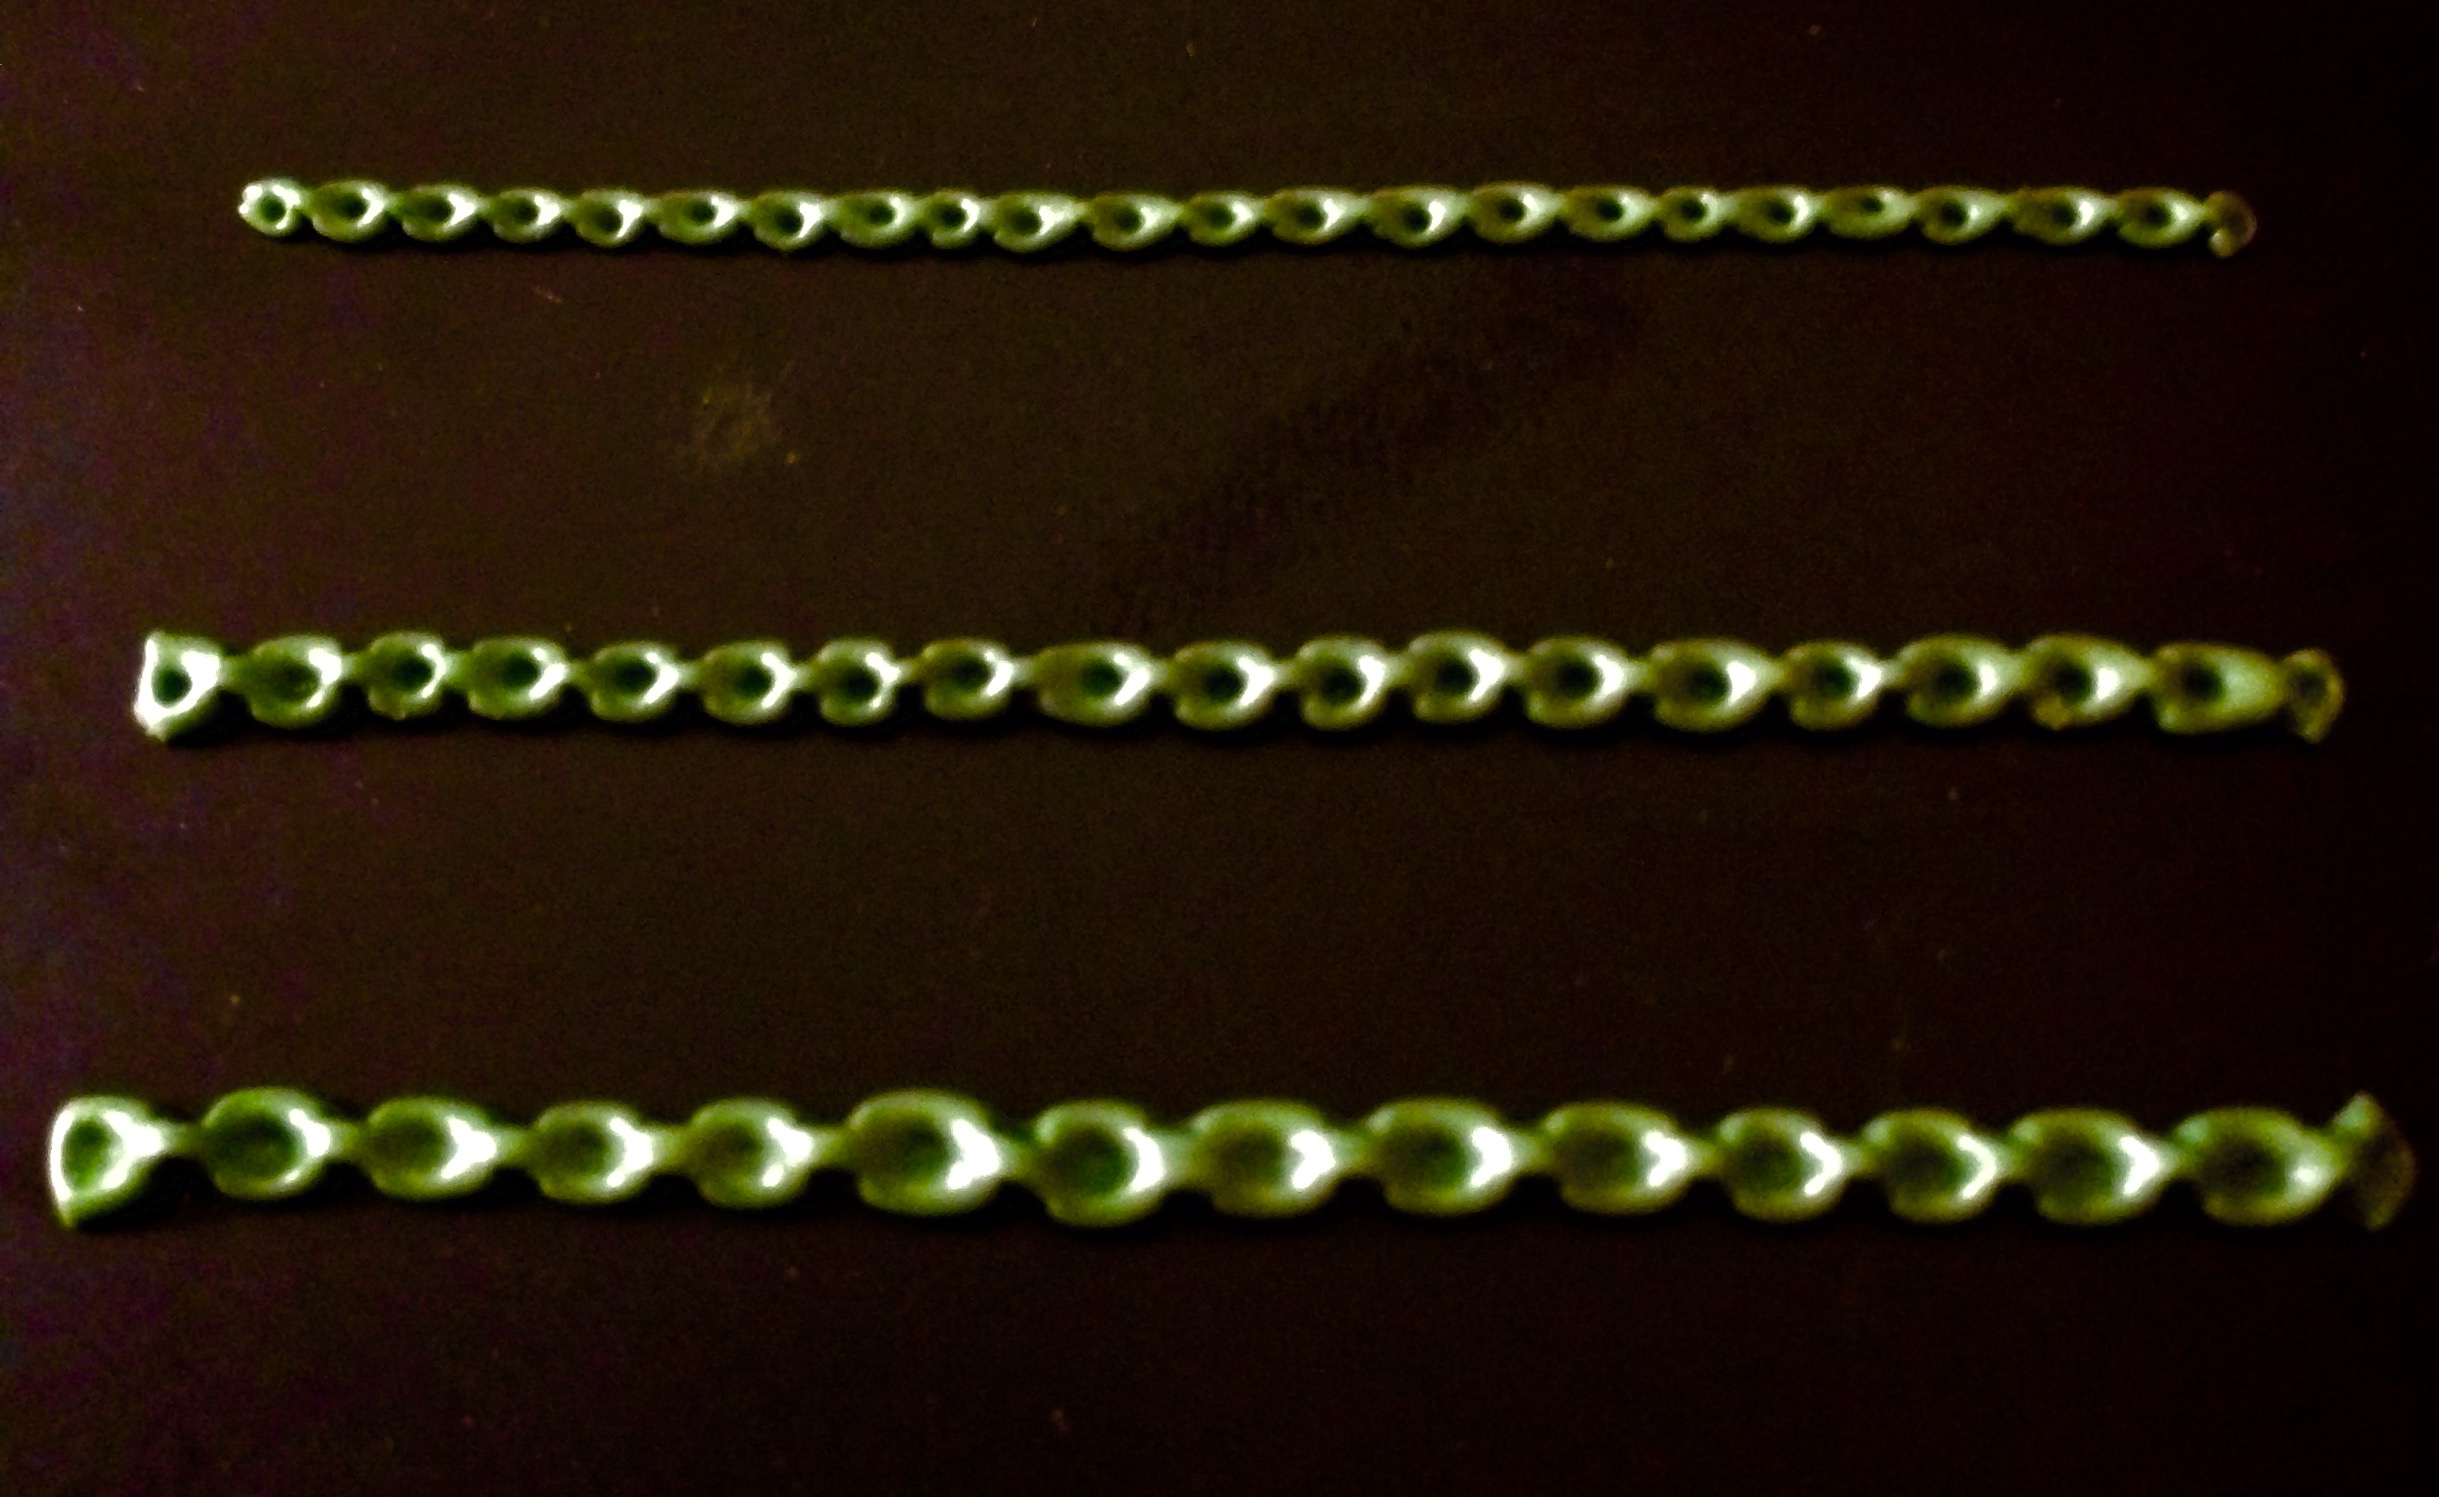
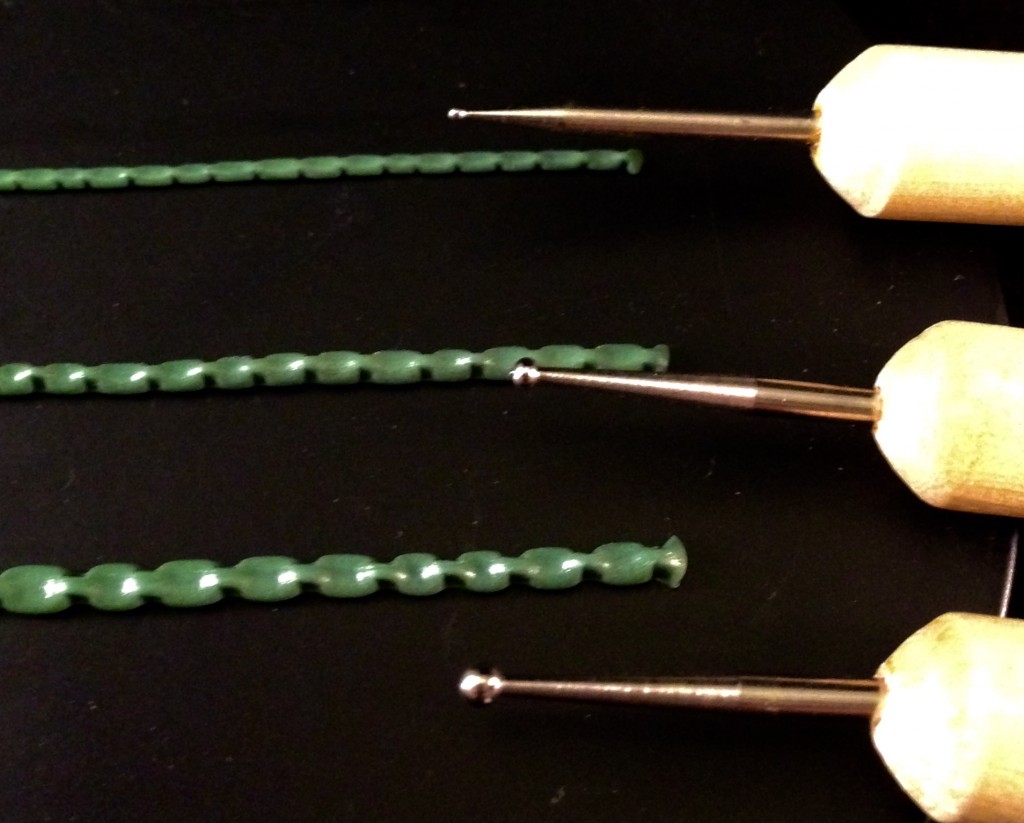 Now using the ball stylus place a center hole in the flat area. Make sure the hole is a little larger than the center link.
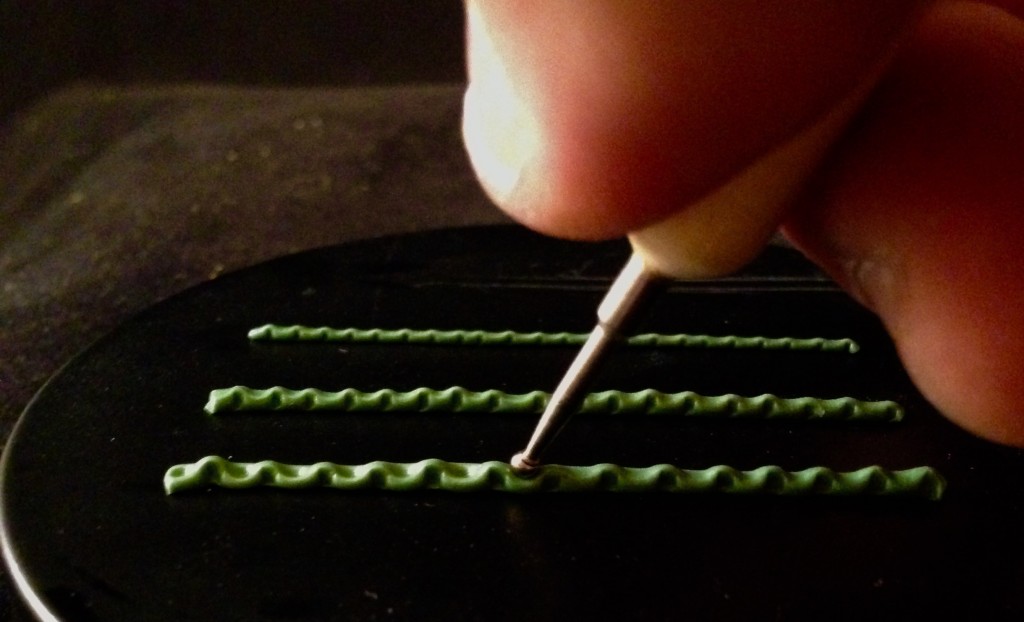
Larger holes
Center holes made top view
Center holes made top view
Center holes made side view
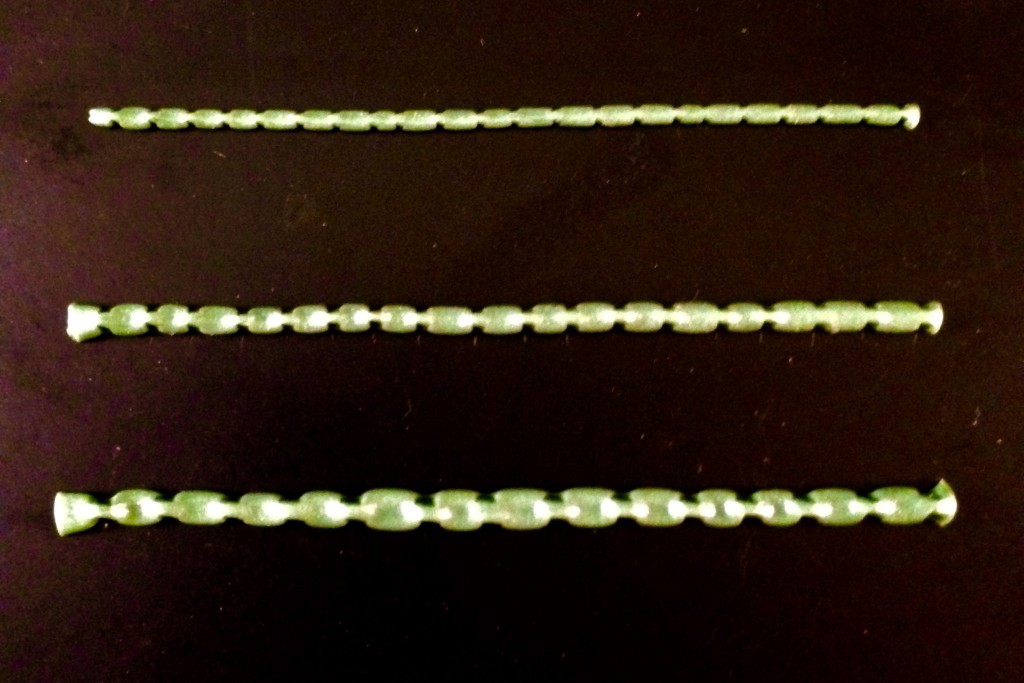
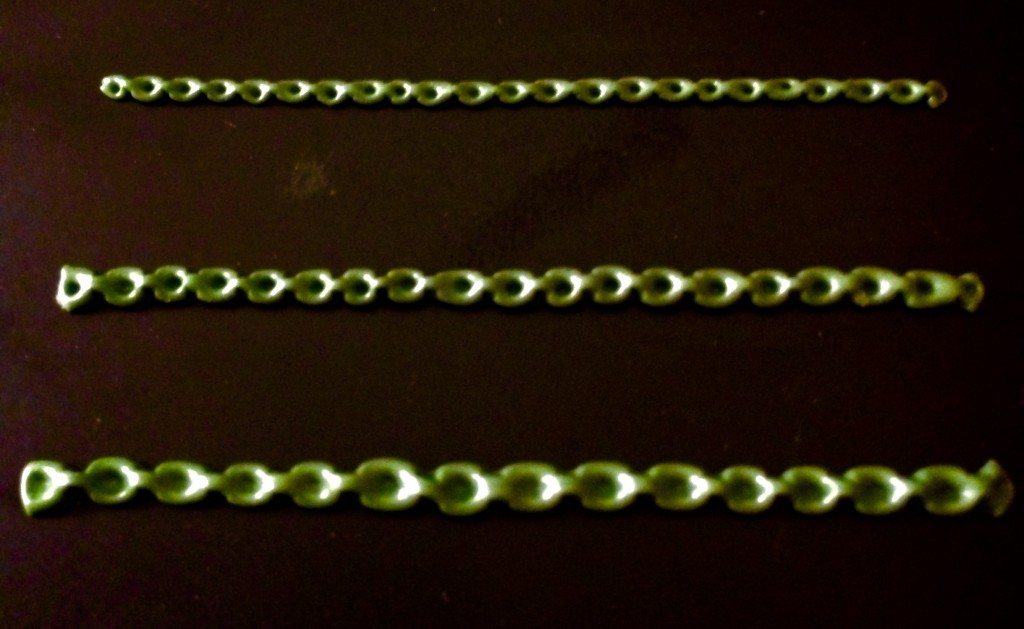
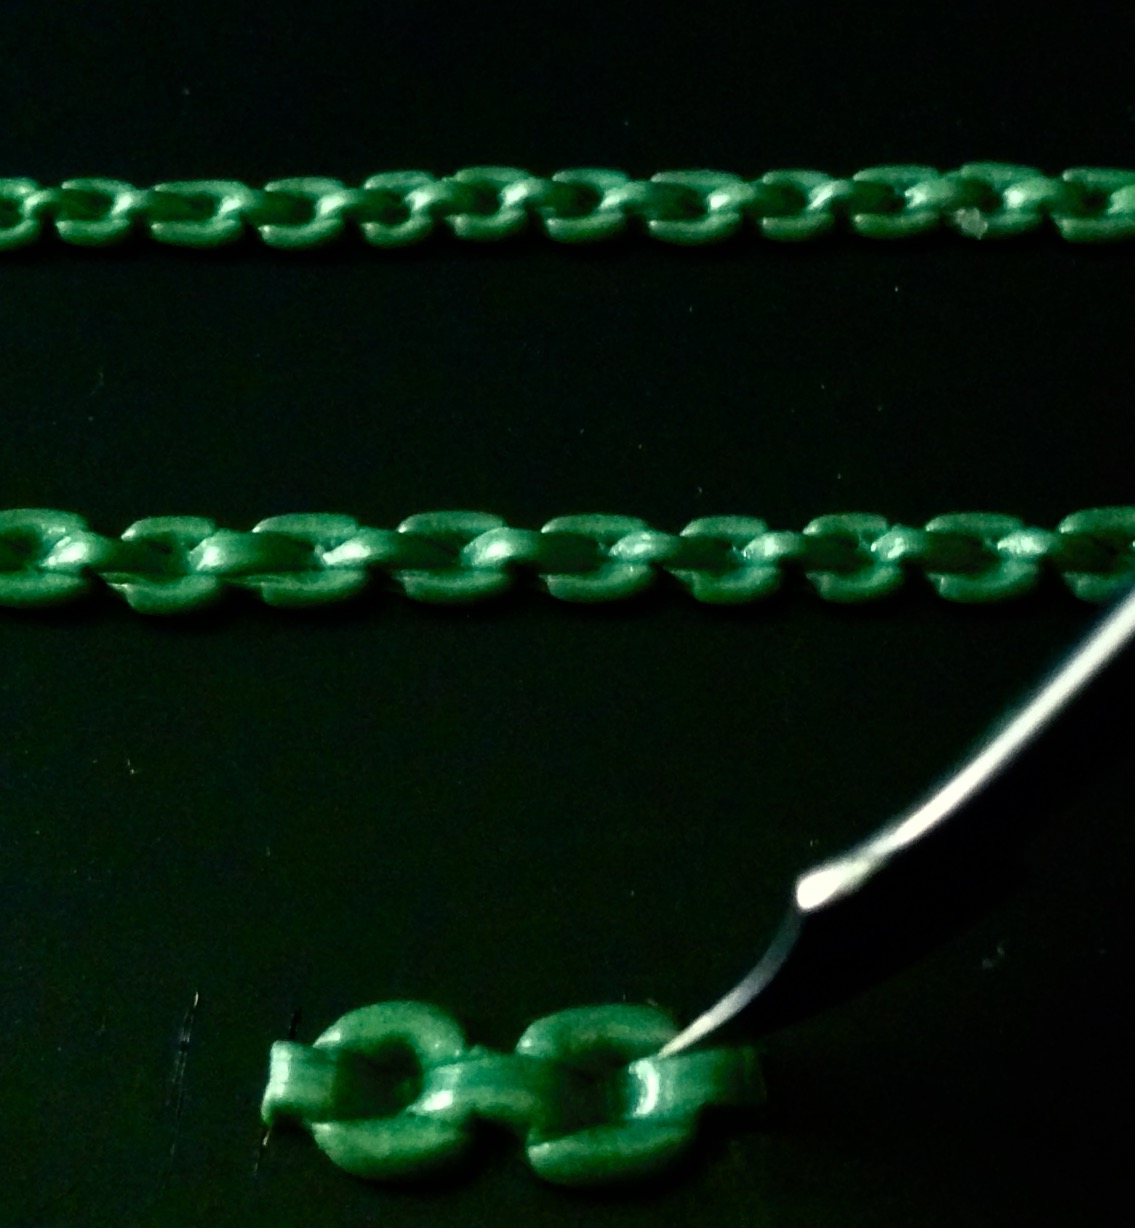
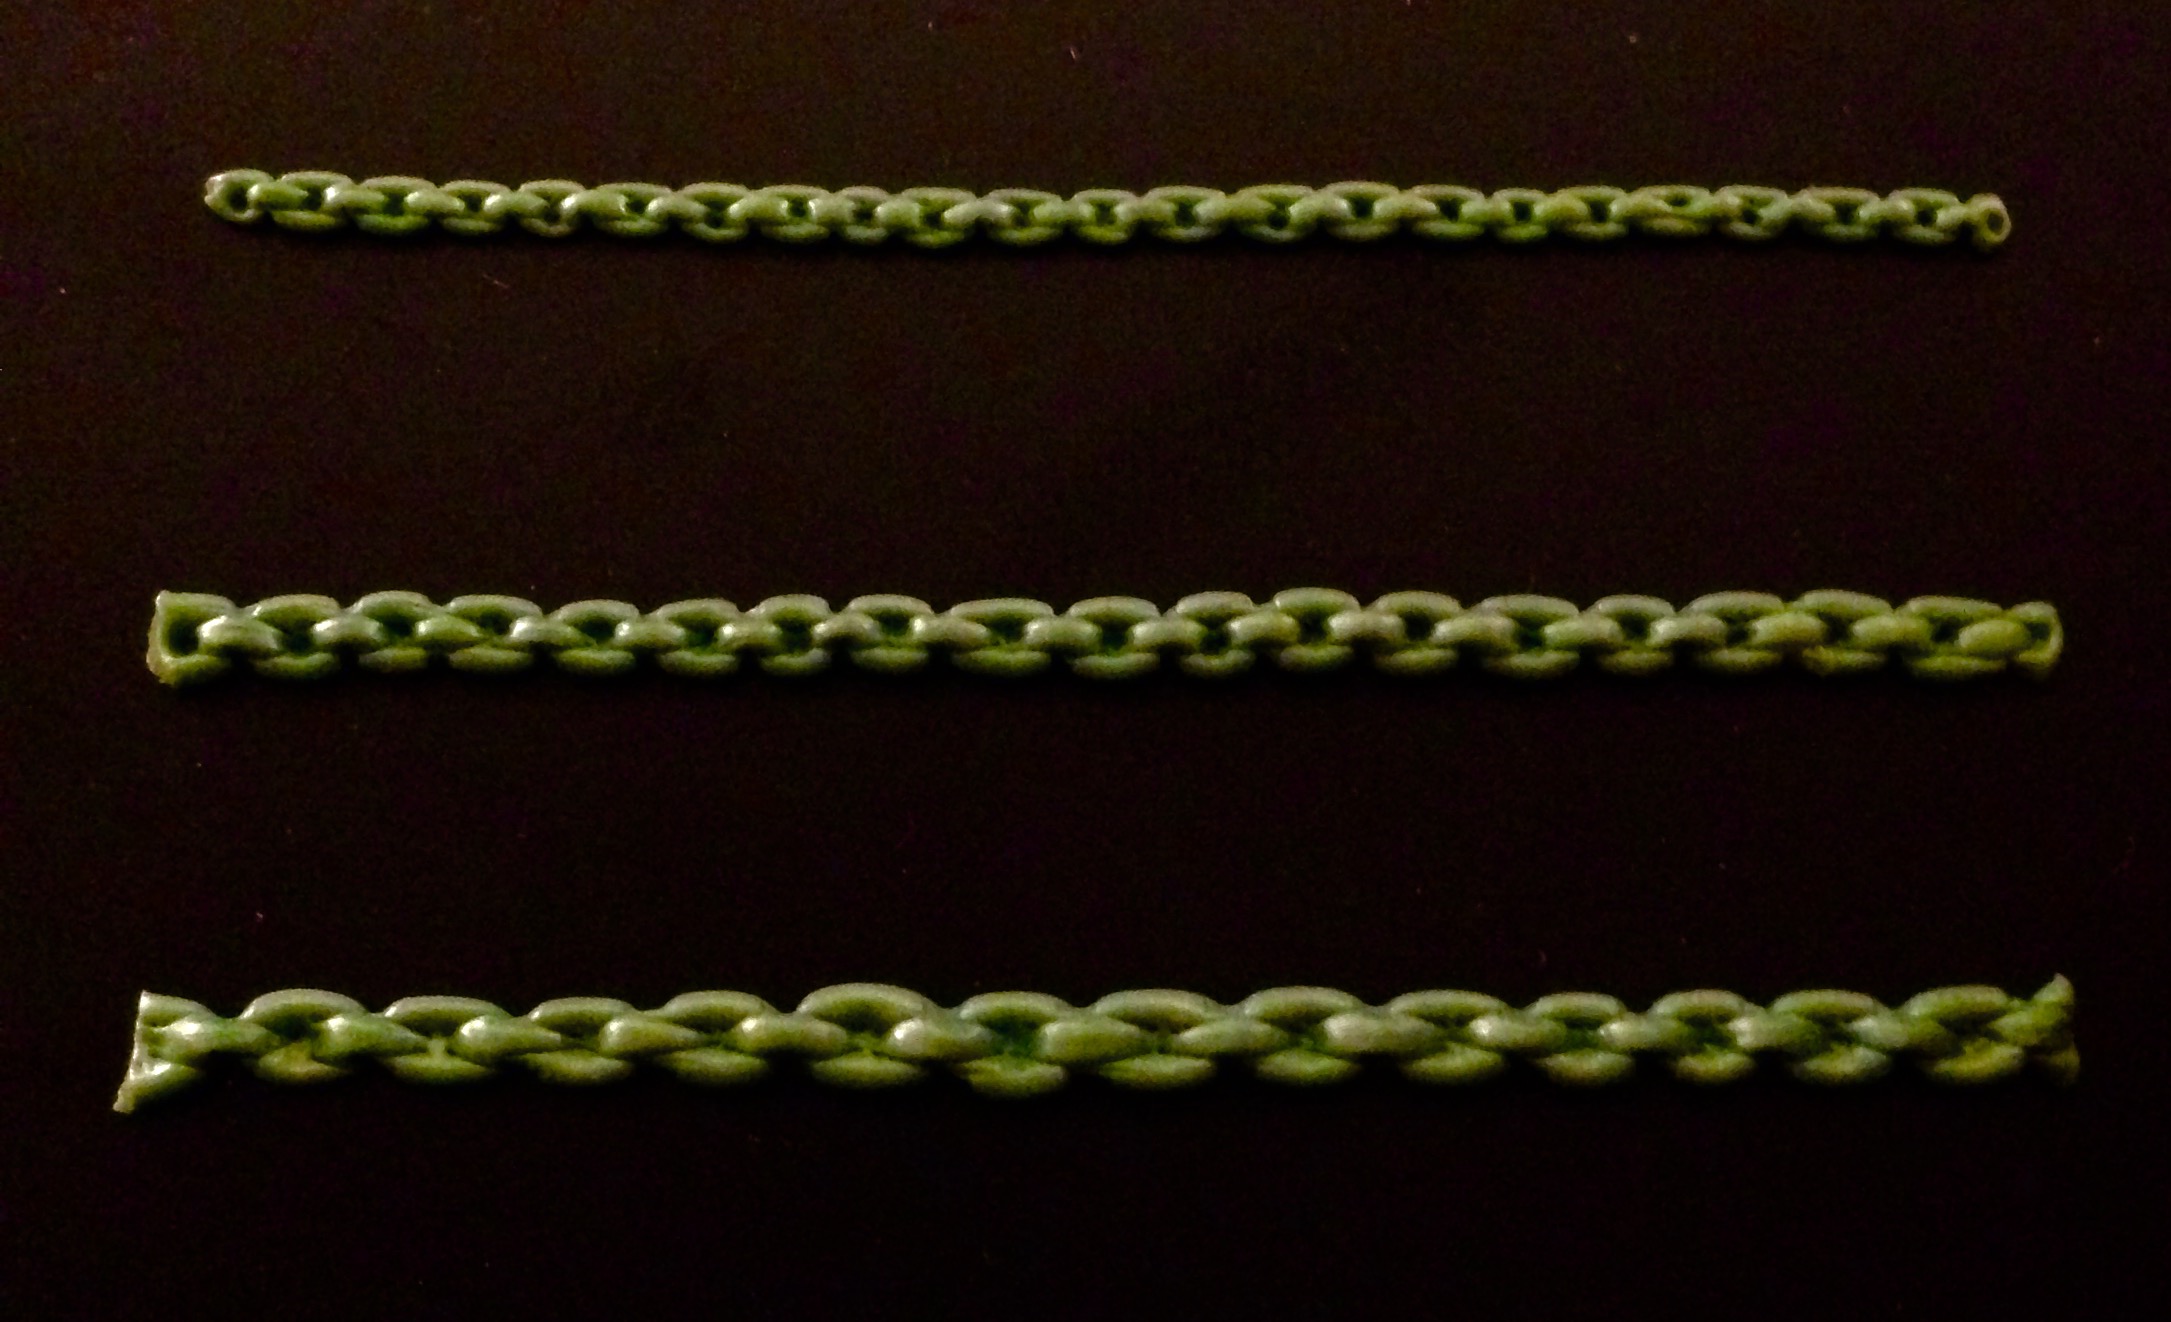
- Now using you Lil Wax tool, make a little mark in all 4 sides of each center link. You can refer to the larger image of the chain section. These little marks will further define the center link. It will also give the illusion that the link goes into the hole.
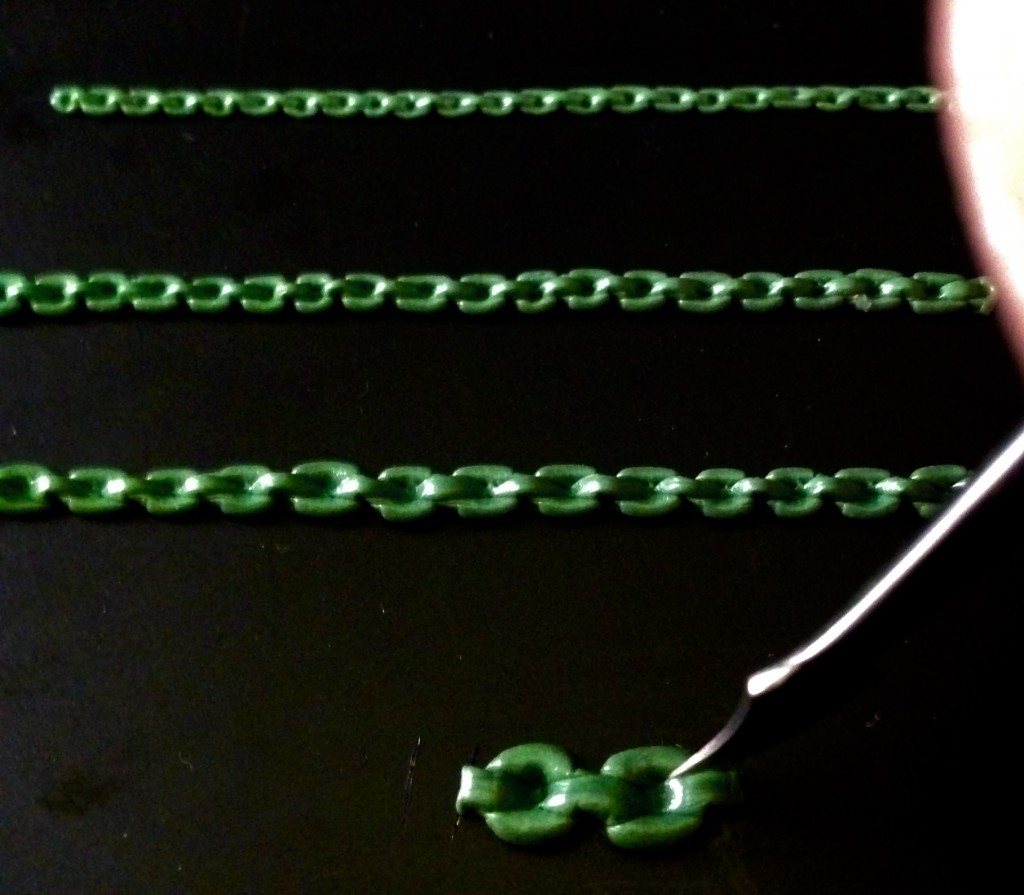
larger view, please note that the marks are small and made on all 4 corners of each center link.
Larger view, please note that the marks are small and made on all 4 corners of each center link.

larger view, please note that the marks are small and made on all 4 corners of each center link.
Side view with marks made to define center link.

Side view with marks made to define center link.
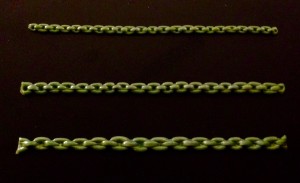
- Links are complete!
Options:
– Before it dries decide if you want your links rounded or squared. The dot created from the stylus will round your links. If you want them squares then pat in the sides. Also gently pat down the center links also to square.
Last but not least:– Once cured gently scrape the surface of the green to get rid of the doughy surface


Now what?!
- Roll out varying sizes of tubes. Make sure to pair them up in size and set aside.
- During the middle cure ( time when not fully cured. Green is still playable but handling won’t leave marks)
Line your greenstuff at the top. - Twist the two pieces o green together. You may want to twist aim sections top middle n bottom so that your coils are uniformed.
-
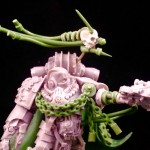
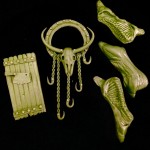
- a length of chain as an honor badge and his forearm replacement

-
- ….
-

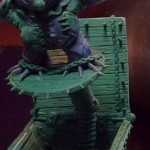
- 30mm Base
-
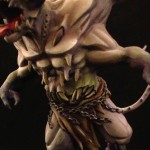
- I clearly work out!
-

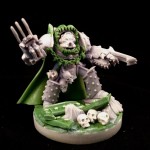
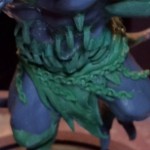
- Nightmare Teddys
Awesome tutorial
Fantastic, much better than the two layer technique ive seen around!